
Having safely transported and disassembled our second-hand Clausing 20″ drill press, we’ll now replace the spindle bearings and tackle the borked up Reeves drive intermediate shaft. The spindle bearing layout consists of an upper ball bearing (I believe a MRC 205SFF) and a lower double row angular contact bearing (MRC 5205SBF) that are pressed into the quill. The spindle shaft is pressed into the inside of the two bearings. It is splined and can move vertically in an upper spindle pulley assembly as the quill is rotated up or down. In my case, the upper bearings in the pulley assembly spun fine and don’t seem to have much impact on runout so I left them alone.
I was however getting several thousands of an inch worth of runout at the spindle nose and heard some suspicious grinding, so decided to go ahead and replace the two lower spindle bearings held in the quill.
Of these two, the upper bearing is pressed on the spindle shaft and is fixed by a collar that can be loosened by inserting a hex key through a hole in the upper end of the quill. That removed, the spindle can be pressed out of the quill from above (don’t try it the other direction). It may or may not take the upper bearing with it. If it does, the bearing can be pulled the rest of the way off, or if really stuck, the spindle shaft can be pressed out of the bearing through from the top. That done, a sleeve can be inserted over the spindle nose and the lower bearing pressed off toward the top of the spindle.
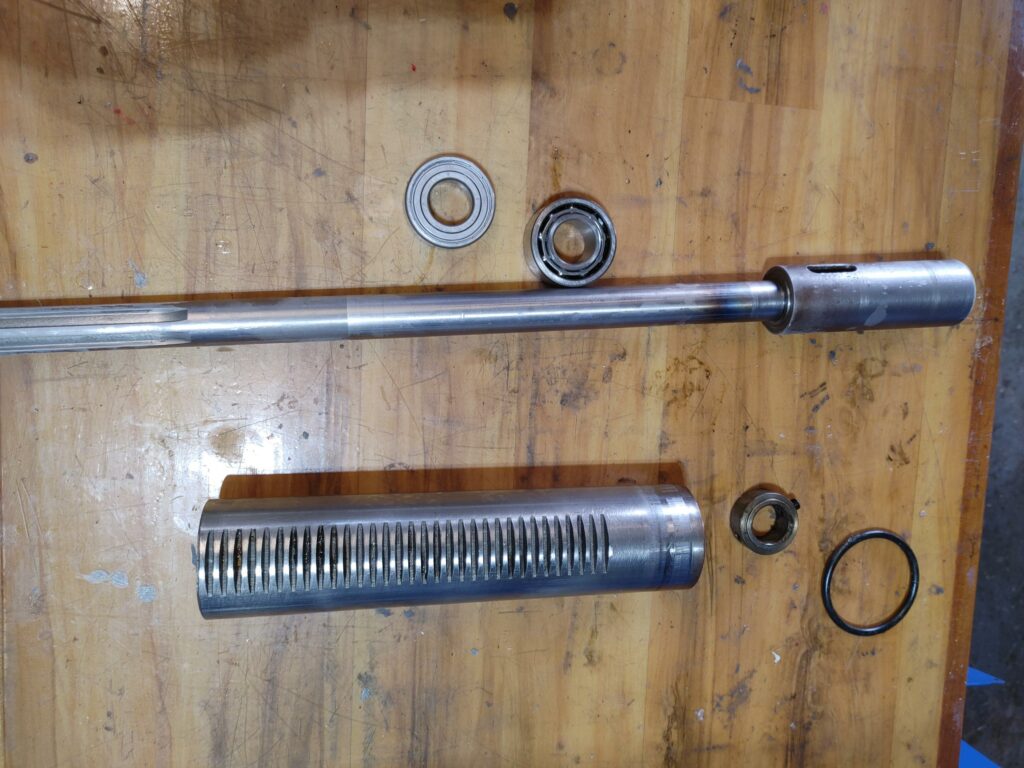
Here is everything disassembled:
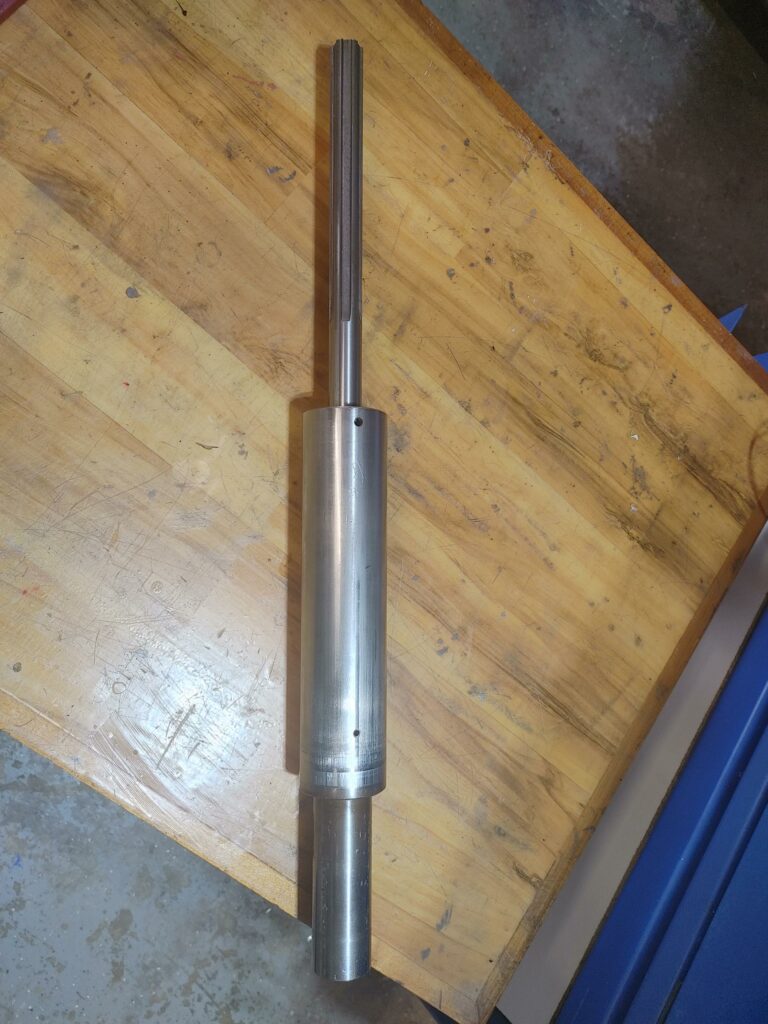
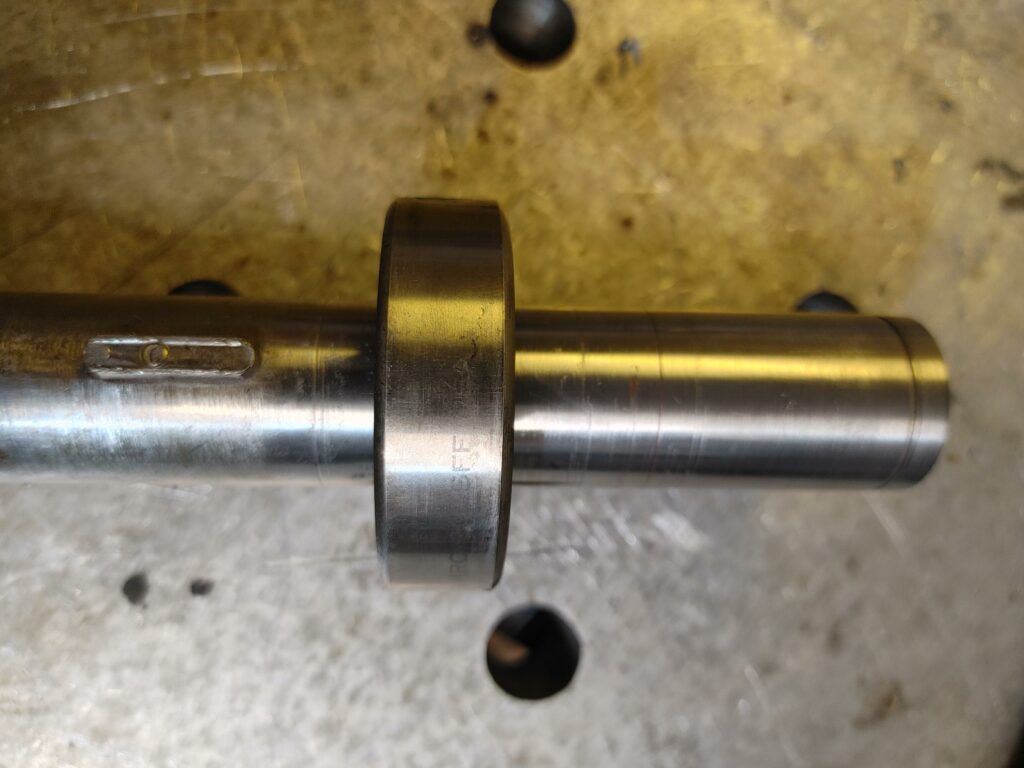
Replacing the bearings was basically the reverse of pulling them. In my case I froze the spindle shaft and heated the new lower bearing, which more or less just slid down the shaft. I then froze that assembly, heated the quill and pressed the spindle back into the quill. Then I pressed the upper bearing onto the shaft and into the quill in using the collar to push it. I tightened it through the hole in the quill, and voila — done. (In the picture below, note the hole to allow you to loosen and tighten the collar at the top of the quill. The lower hole is to oil the lower bearing).
Repairing Reeves Drive Intermediate Shaft
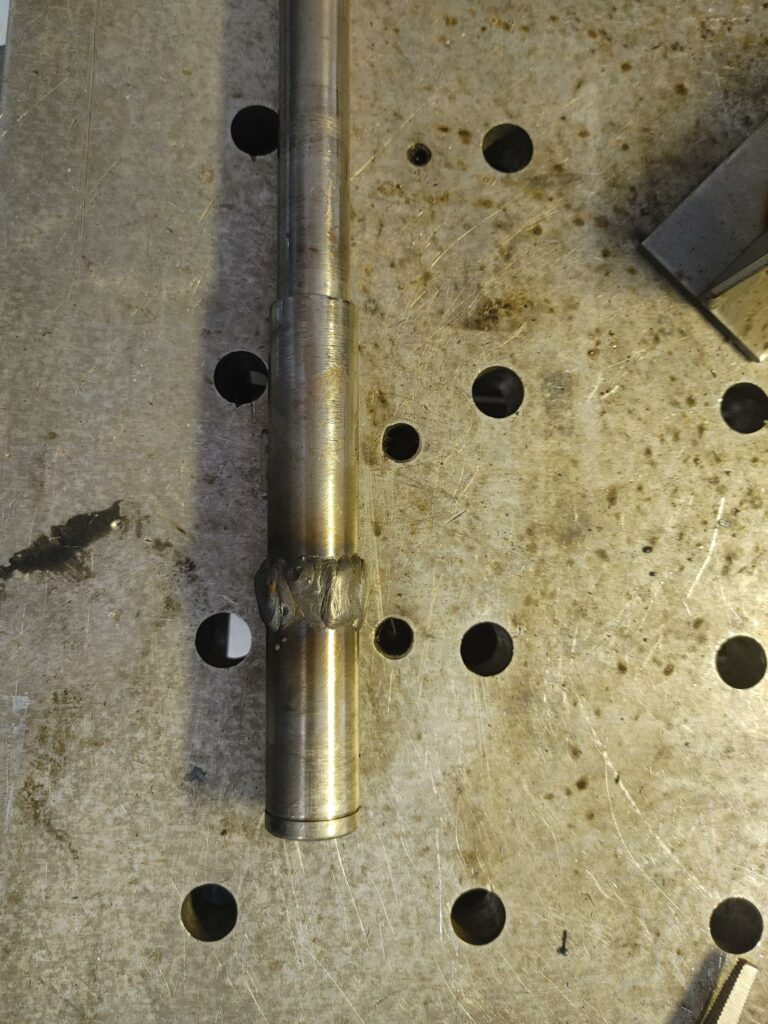
Recall from the disassembly post, the intermediate shaft of the Reeves drive consists of a set of lower bearings fixed to a sleeve, a fixed lower pulley half, and a floating upper pulley half that rides along a keyway slot with a floating pin keeping the pulley from spinning on the shaft. In my case, one of the two lower bearings had seized and spun, wearing a groove in the shaft.
No magic here. This was fixed by welding it up …
And turning it down on my lathe. After turning it, the new bearing fit fine.
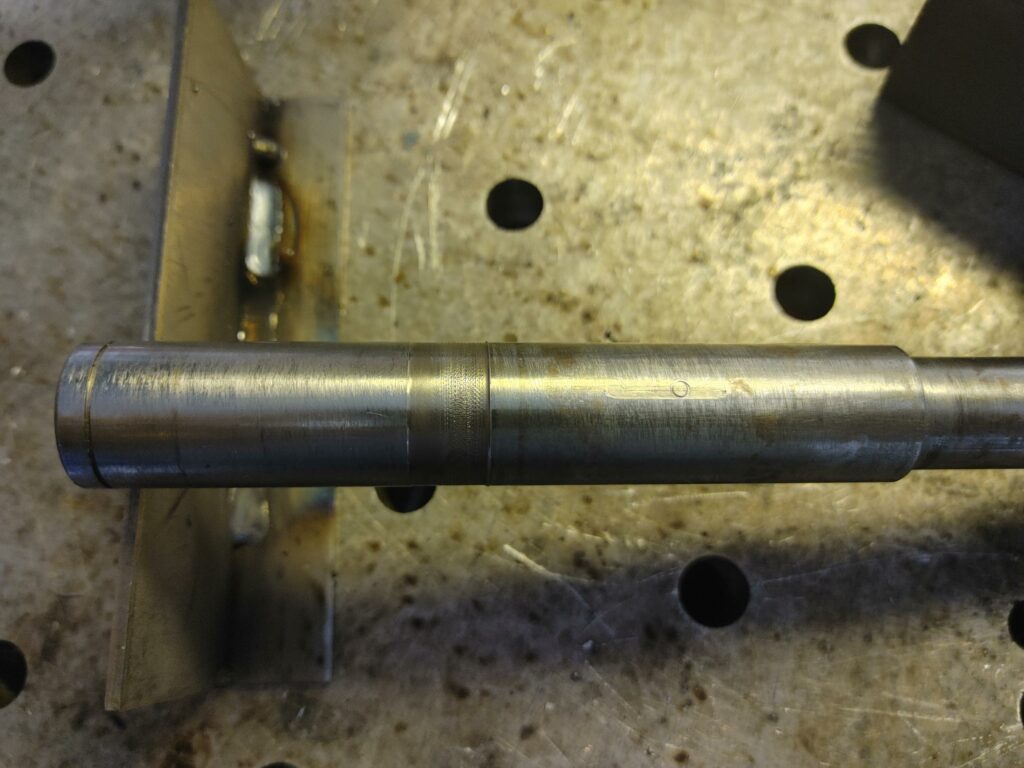
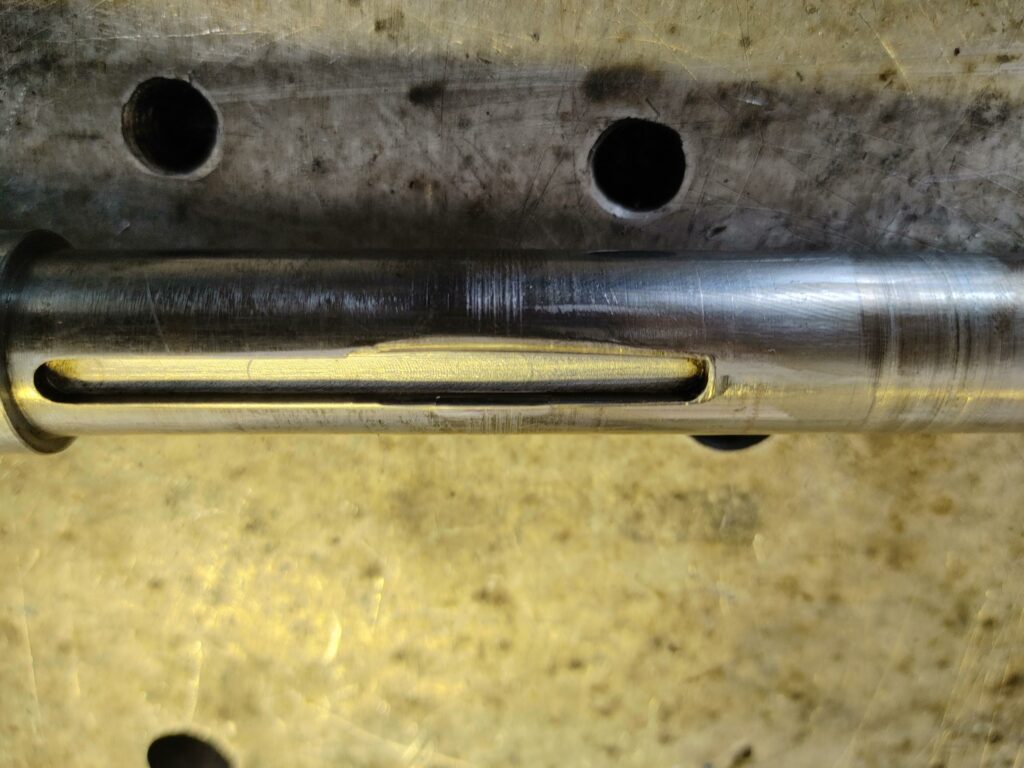
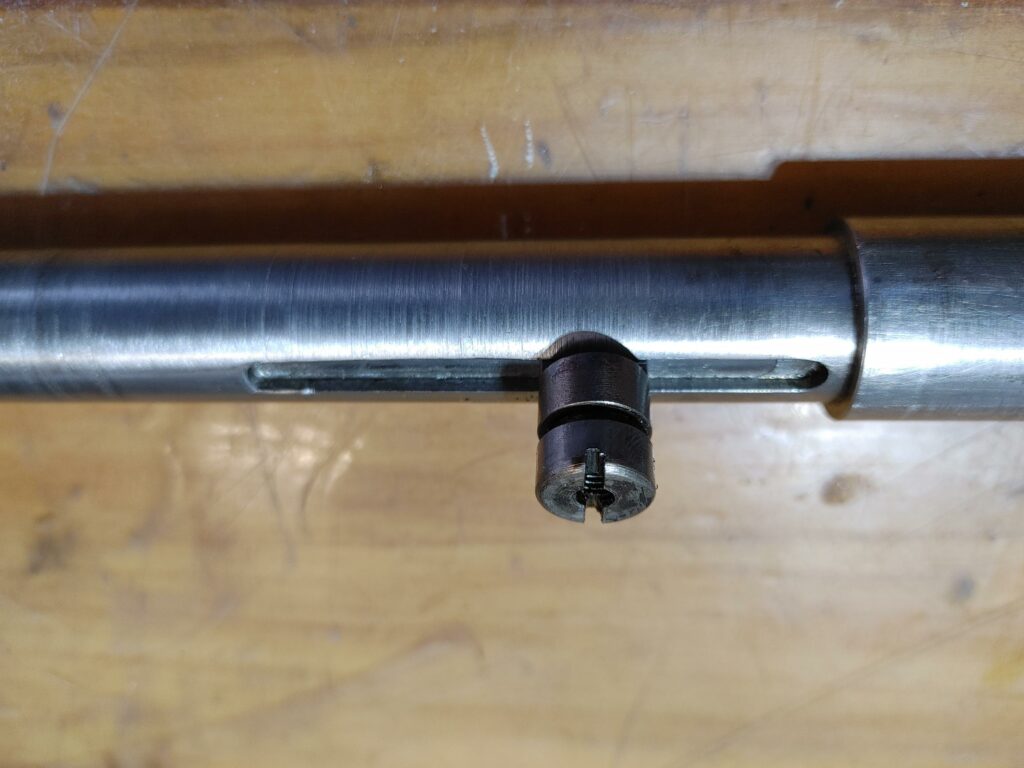
Moving on to the upper pulley keyway, we can see where it was wallowed out from years of the upper pulley pin moving back and forth as the Reeves drive adjusts the effective pulley width
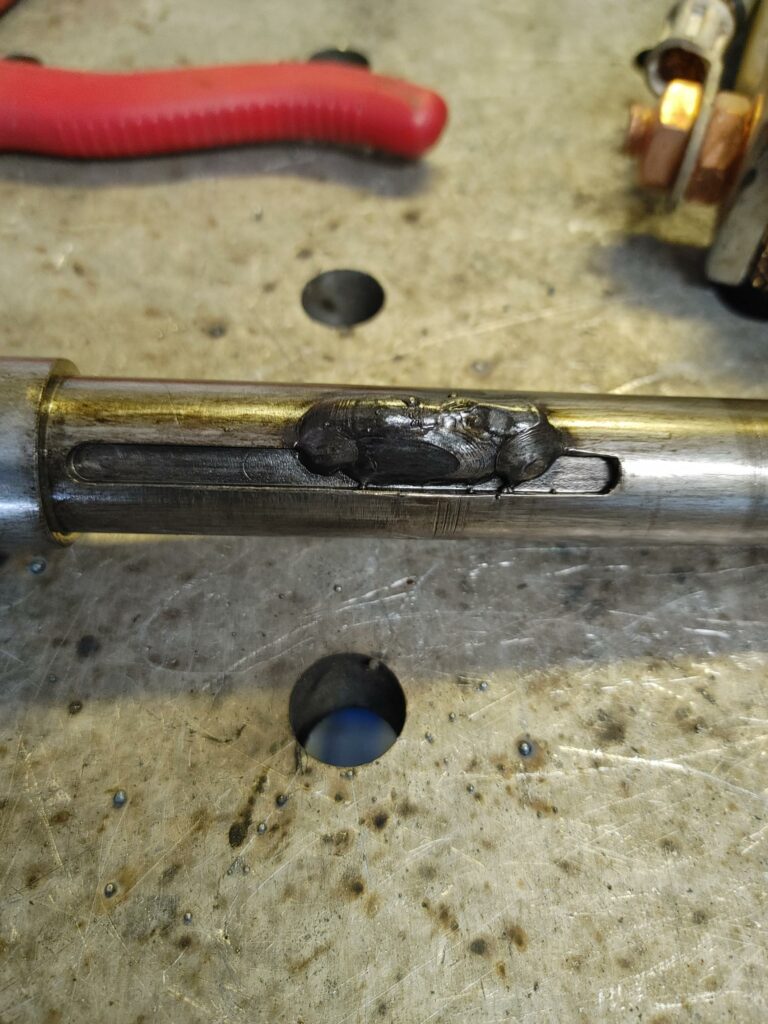
Once again, this was fixed by laying a MIG bead along the worn edge.
And then turning down. The keyway was recreated by milling it back to size.
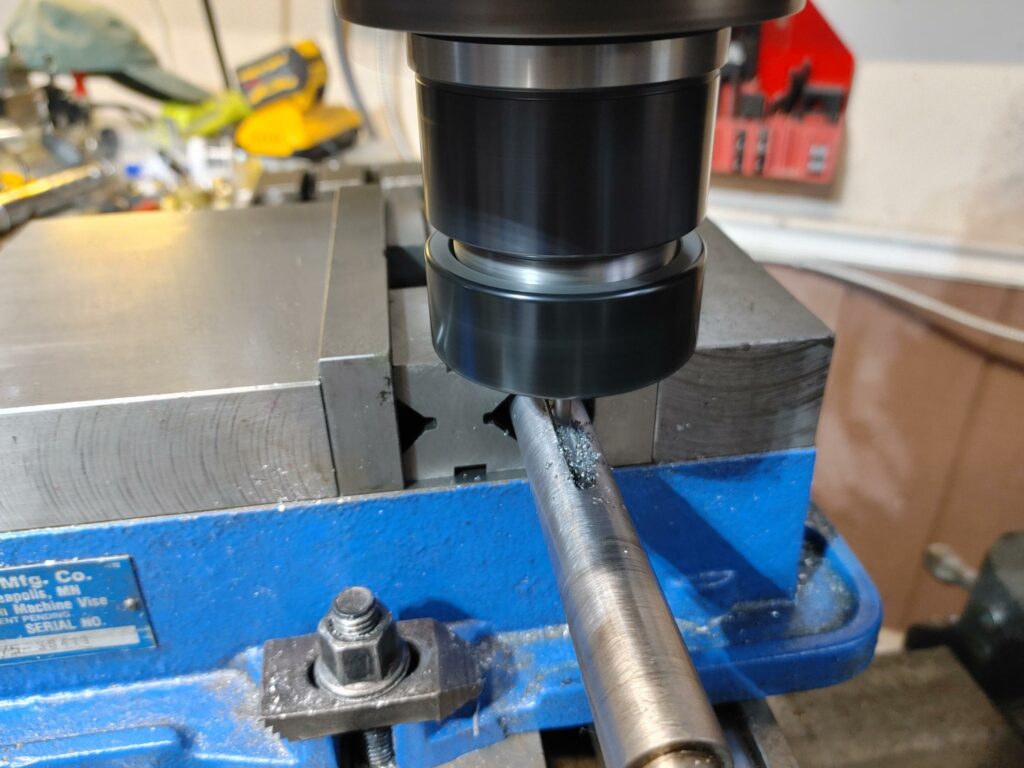
After turning and milling the weld, the keyway pin that is inserted through the upper pulley fits tightly and slides freely.
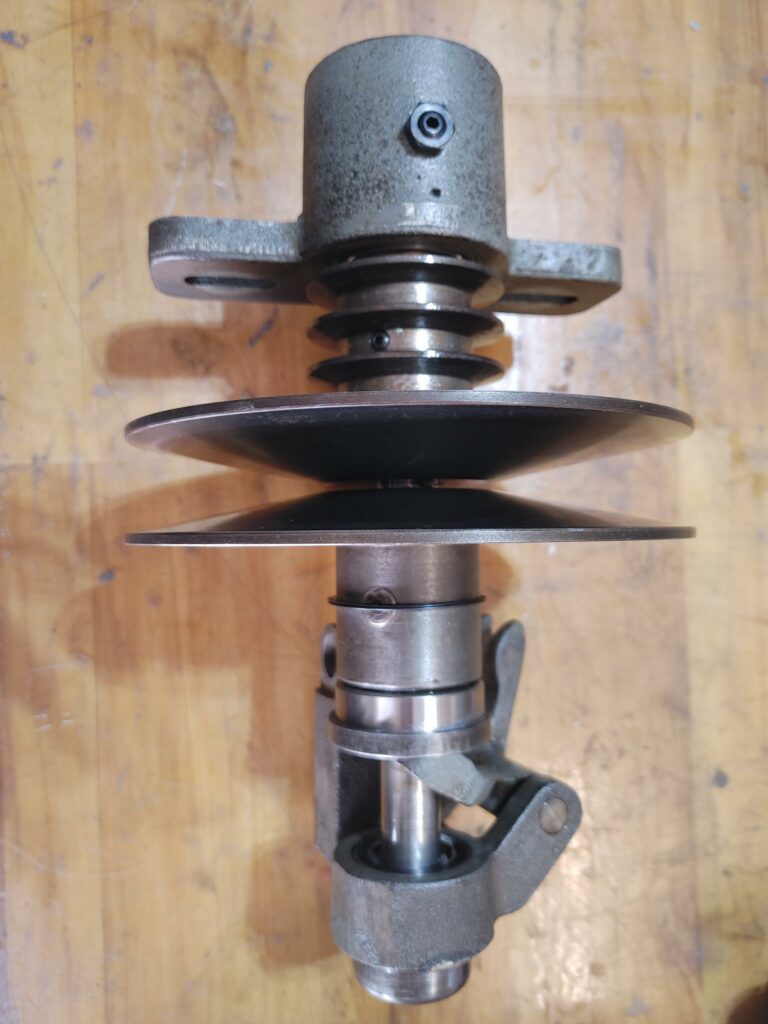
At this point there was nothing left but to reassemble the intermediate shaft assembly (basically, the reverse order of the disassembly post here). Two new lower bearings and one new upper bearing were added. The lower pulley sleeve was pressed on, then the upper pulley inserted before sliding on the yoke and top bearing. The upper nut was tightened down to complete the assembly. Everything rotated smoothly and the upper pulley half moved freely along the shaft.
With the spindle and intermediate shaft overhauled, we’ll finish up the project by cleaning everything up, repainting the castings, and assembling the press.