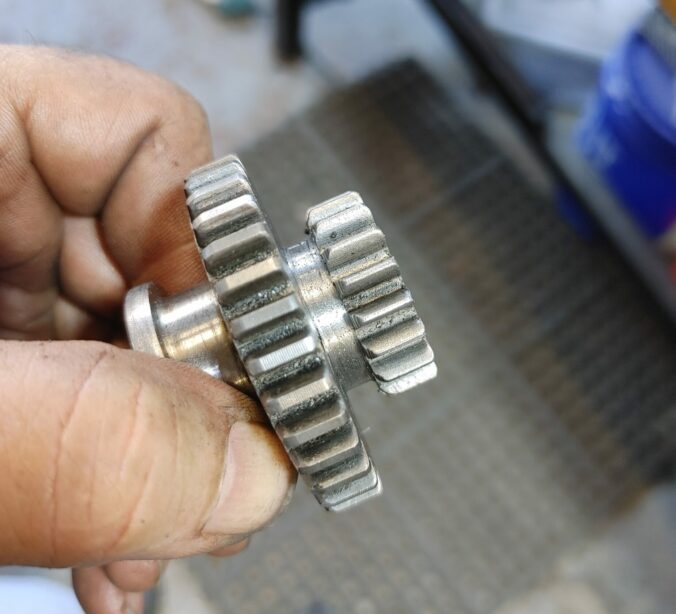
From the recent teardown of the feed distribution gearbox on our K&T 2HL, we were able to trace our high speed feed problems to a stripped “tertiary high speed cluster gear” that has clearly suffered past catastrophic damage. Because this is a two-part cluster gear that rides along a splined shaft, the chances of finding a direct replacement that replicates the exact tooth count on both gears is about zero.
Fortunately, only one of the two gears that make up the cluster was damaged, and even more fortunately it only measured 1.25″ in diameter — less than the width of many off-the-shelf splined shaft sleeves that can be bought from places like McMaster. So here’s the repair strategy: we’ll take a stock splined shaft sleeve, turn one end to 1.25″, and cut a relief channel on a lathe. We’ll then cut the teeth into the sleeve, cut the old stripped gear from its undamaged partner, and then TIG weld the new gear to the old using the splined shaft to keep everything aligned. Because the splined sleeve is unhardened mild steel, we’ll have to case harden it to complete the repair.
Welding up a missing tooth
Before getting to the fun stuff, it turned out that a brief detour was in order. When disassembling the secondary feed shaft, I discovered that the gear that meshes with the broken tertiary high speed cluster gear was also missing a tooth, undoubtedly as a result of the calamity that befell its mate.
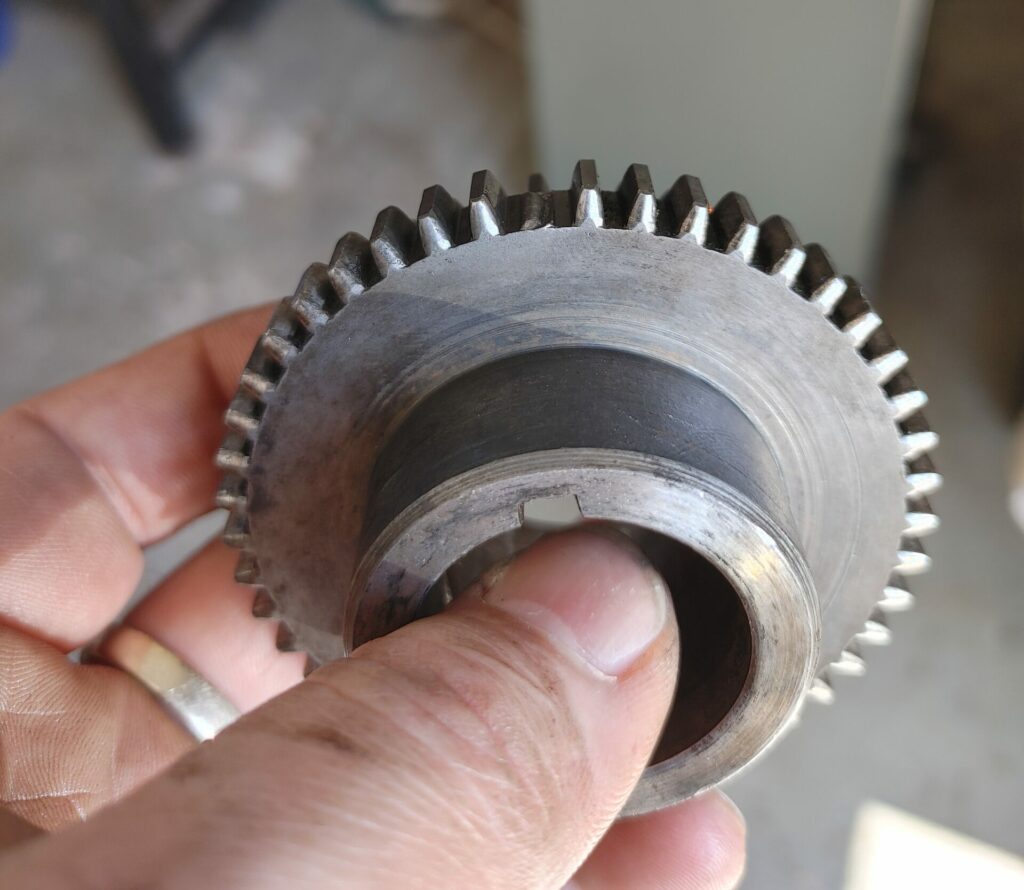
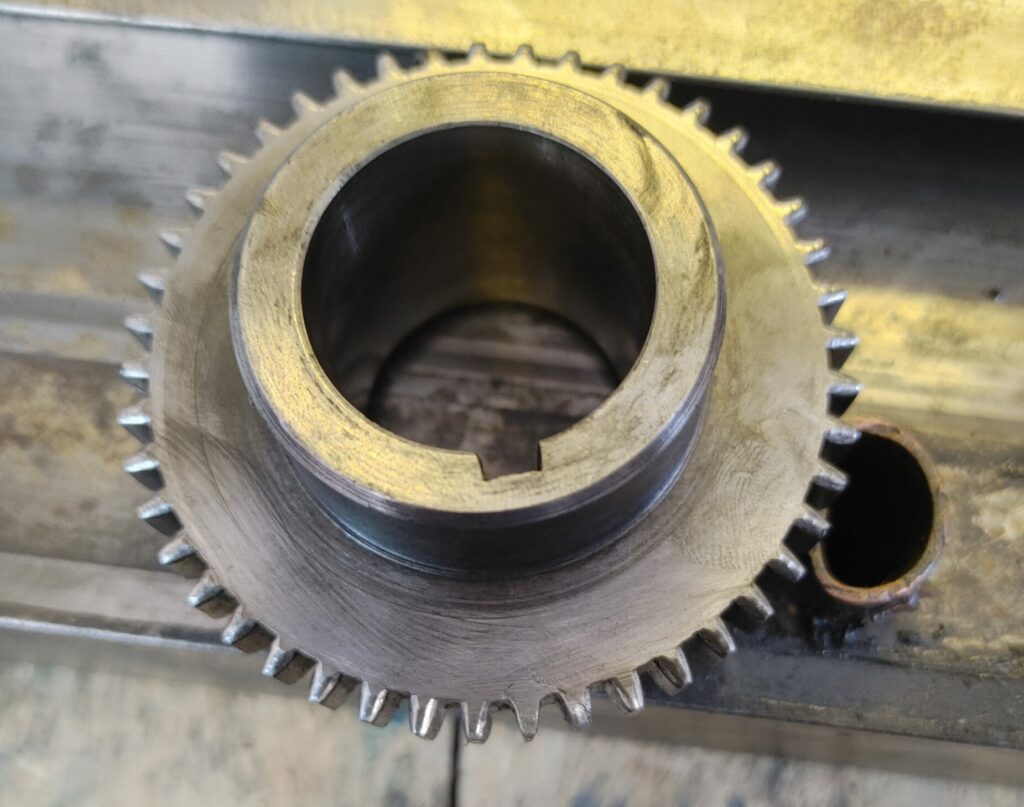
For this one, I decided to fill in the gap between the two adjacent teeth with MIG tack welds, taking care not to let the gear get too hot. I then installed it on a custom-made mandrel for cutting out a new tooth on my crappy import dividing head.

Crappy or not, the head fits fine in the CNC mill. I didn’t have the exact size gear cutter for the number of teeth, but did have one on hand that was off size by only a half dozen teeth. Given that it was already close and I was only cutting one tooth, I set the depth of cut a couple of thou deeper than recommended to make sure I ended up with a replacement tooth profile that provided sufficient clearance. I’m not sure if that was the right thing to do or not, but the gear meshed just fine without binding, and by my math 1 new tooth > 0 teeth so the situation ended up improved.
Cutting the Replacement Gear
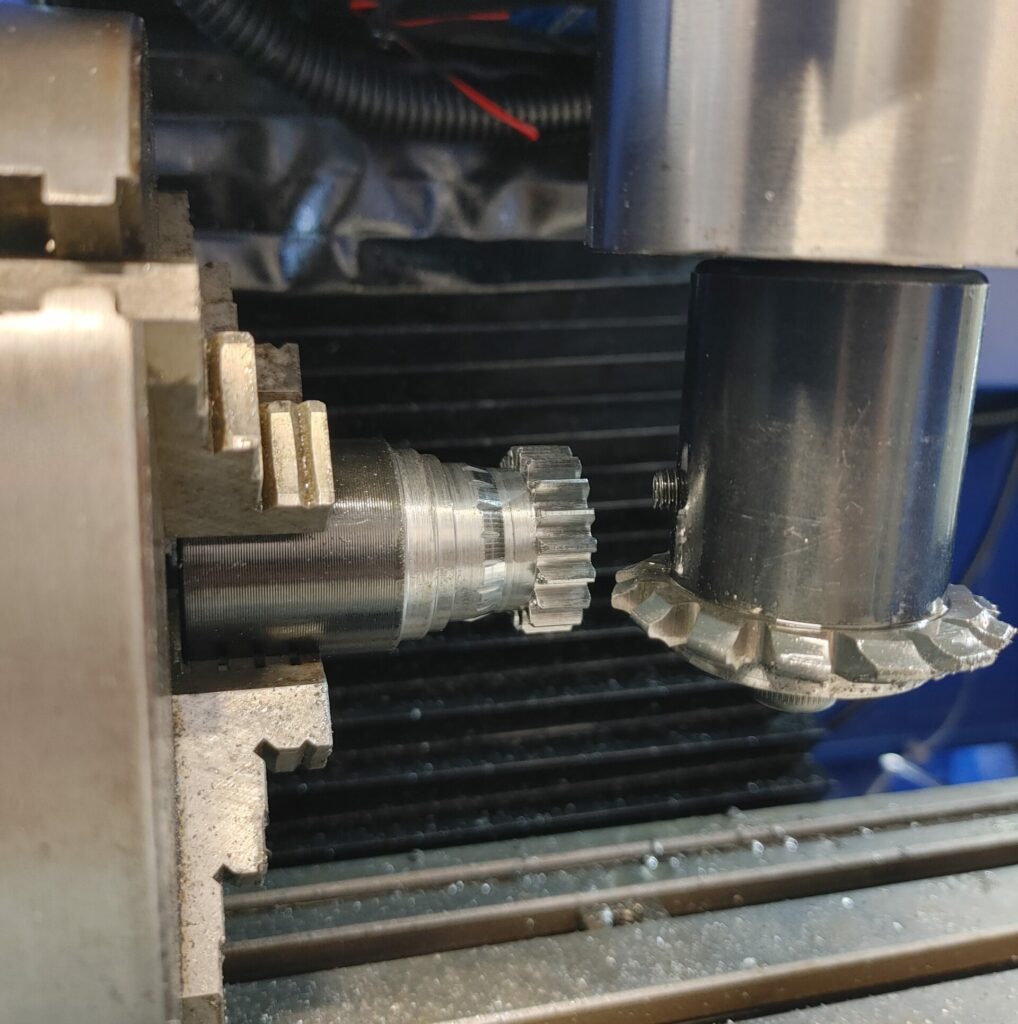
With this preliminary work out of the way, I purchased a 3/4″ six-spline sleeve from an agricultural supply mail order company (<$50) and turned one end down to 1.25″, making sure the sleeve was centered on the inner splines (made that mistake before). I then cut a relief channel to match the diameter of the original gear’s channel. I also cut away material to the rear of that channel to limit unnecessary wear on the cutter.

This time, I had the exact gear cutter for an 18-tooth gear. The pressure angle seemed a closer match to 14.5 degrees, so I went with it. I also had the appropriate plate on hand for my dividing head to produce 18 teeth per revolution, and after a successful scratch pass all the way around the blank, I was able to cut the gear without error.
Next, I chucked the shaft back up, carefully measured the width of the relief channel on the original gear, and then parted the gear from the splined sleeve. I then chucked up the damaged gear cluster and cut the damaged part away.
I then put both the original undamaged gear and the fabricated replacement component on the same splined shaft to hold them both in position. I TIG welded the two together, taking baby steps at first to make sure there was no binding.
Because there isn’t a great deal of axial force exerted on the gears (they ride up and down the shaft as the yoke changes their position), I made a relatively light autogenous weld around the perimeter of the joint, using a small 1/16″ tungsten electrode. The result was slightly undercut, but should hold just fine.
With the new cluster complete, I carbonized the gear using a mixture of aquarium charcoal and sodium carbonate, heated to 1700F for two hours in a semi-sealed container. I then cleaned it up, reheated it to 1700F and quenched in brine. Afterwards, a file skipped across my newly cut teeth, which is “hard enough” for me given the likely future use of the machine.
That done, I reinstalled the new gear cluster on the shaft, then installed all the shafts back in the feed distribution gearbox, making sure that everything turned without resistance and ensuring that I could cycle through all of the feed speeds. (See video below).
Not being patient enough to wait several months to find out if the repair worked, I temporarily installed the front of the knee (containing the feed distribution gearbox) back in the machine, and … wouldn’t you know it, everything worked!
Next up for our K&T restoration, we’ll begin the arduous process of scraping the top of the knee flat and back into alignment.