Over the last year or two, I replaced the abrasive wheels on my 8″ no-name bench grinder with a brass wire wheel and a nylon fiber deburring wheel, both of which I found I used much more on a day-to-day basis. Still, I do need to grind down welds, shape the occasional HSS lathe tool, and sharpen larger drill bits from time to time, and was getting sick of swapping out bench grinder wheels when the occasional grinding job presented itself.
The original plan was to buy a second, quality made bench grinder … maybe even a 10″ model … and devote it to actual grinding. However, the good bench grinders seem to be caught up in the post-COVID inflation spiral (or maybe they were always this expensive, I dunno), but for whatever reason the cost of a decent new grinder didn’t make a lot of sense for my situation.
As a “Plan B”, I began monitoring local equipment auctions, as one does, and as luck would have it, found a ratty looking Queen City 12″ grinder at a nearby auction in Dallas, Georgia. I ended up getting it for the princely sum of $120 and got it home without incident … where it sat for most of the next year. With my CNC project finally done, and before launching into the Kearney & Trecker 2HL mill rebuild, I thought I’d clean up the Queen City grinder and get it operational.
Queen City was known for making good grinders, so I figured that if I could get the machine up and running, I would end up with a much more capable grinder for about the same price as a dodgy import.
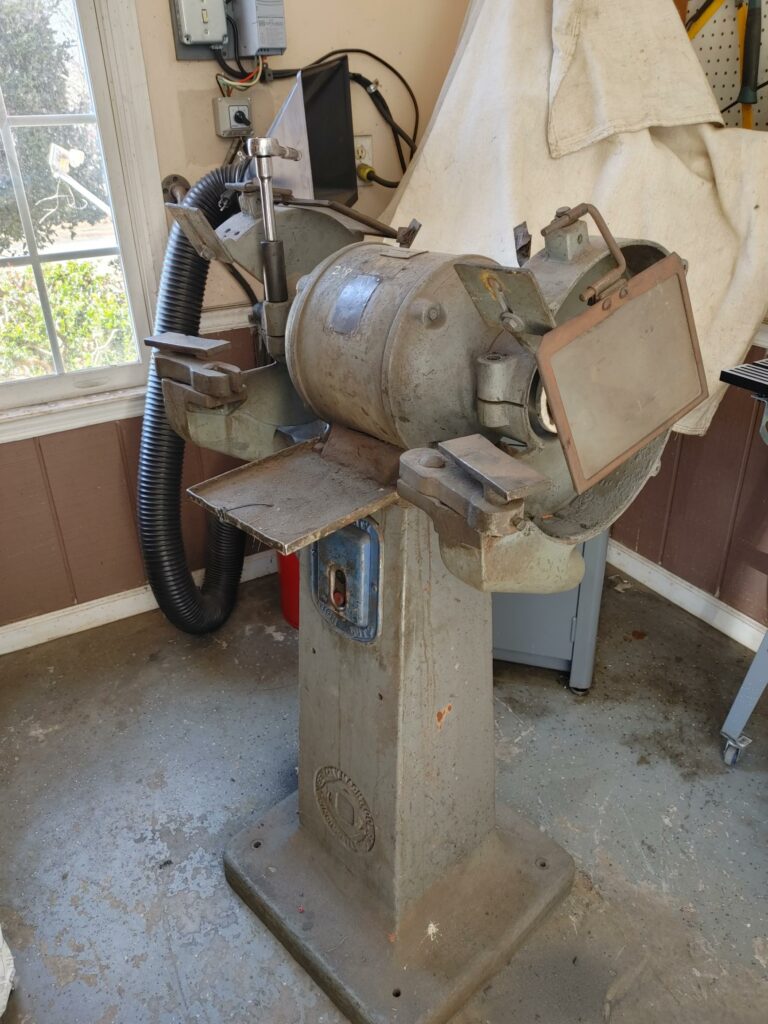
Although all of the tags had long since become unreadable, by measuring the size of the grinding wheels (12″x2″ with a 1.25″ bore) it became clear that the model I wound up with was a 4F. This particular model boasted a 2hp motor turning at 1750 R.P.M. My particular machine came with a 3-phase, 220v motor.
Getting things Spinning
The first order of business was to check out the bearings, which surprisingly spun smoothly. The machine came with two wheels – an A36 coarse and a fine wheel, which appeared to be an A60. Both passed the “ring test”, but the more used of the two looked a bit chewed up, with more than a little bit of side grinding in evidence. To stay on the safe side, I located a replacement CGW brand wheel of a similar grit and ditched the one with a questionable history.
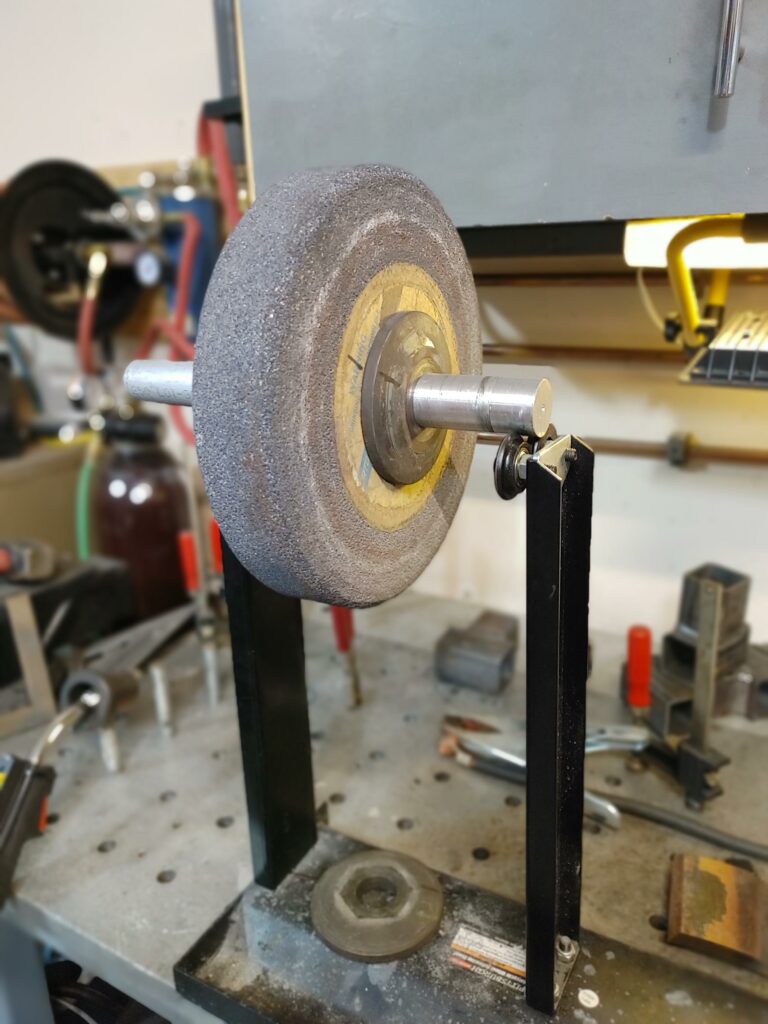
Using a homemade balancing rig, I verified that both wheels were in balance.
I next verified that the motor ran off of a VFD. Temporarily, I have it connected to the same 2hp VFD that also runs my Harig surface grinder. I can switch between the two with a 220v, 3-phase drum switch. (Yes, I am aware that doing this while the VFD is powered up is a bad idea).
Because of the additional rotating mass, I had to turn the deceleration time setting way down (20 seconds) to avoid an over-voltage condition, but otherwise it works fine. I’ll eventually add a dedicated VFD and remove the switch, but for now switching it between the two works and nothing I do in the short term will come close to overloading the power capacity of the VFD.
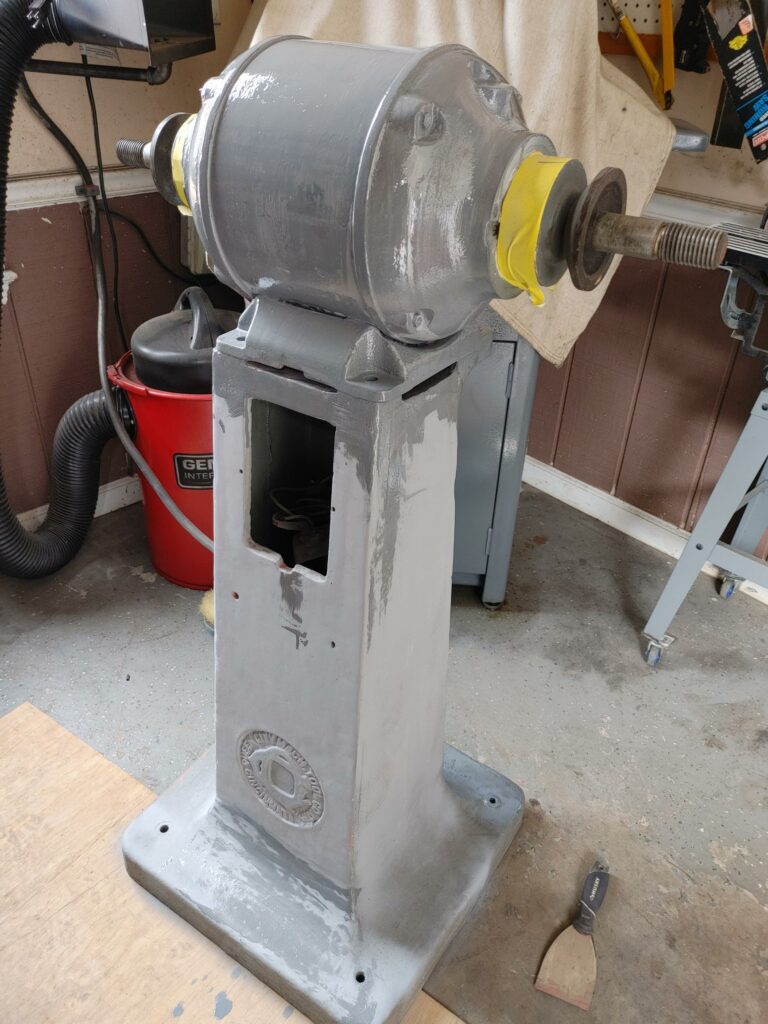
Cleaning Up the Castings
With the motor verified as running and the bearings turning smoothly, the rest of the process of getting the grinder into service boiled down to disassembling the guards and tool rests, cleaning, and painting. For a coating, I used some leftover POR-15, thinned with xylene. I’ve found that the POR-15 and KBS Coatings type frame paints tend to be more durable and chip resistant in a shop setting compared to the usual Rust-Oleum paint job.
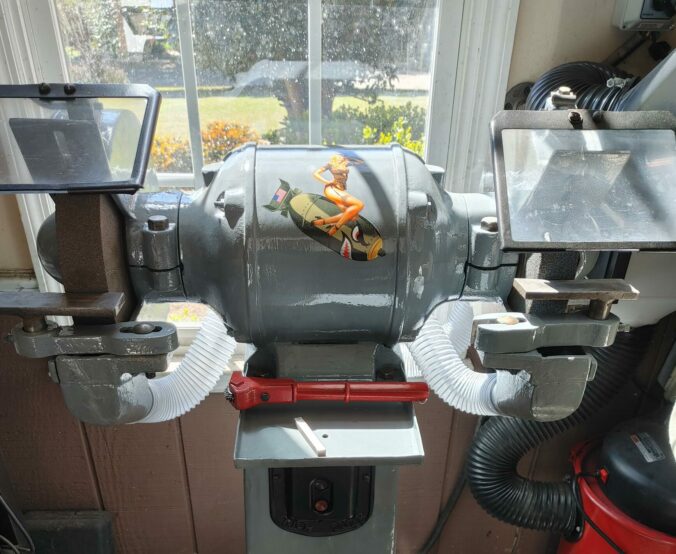
The old transparent spark guards were intact, but were in terrible shape. I disassembled them, repainted the frames, and attached the clear “windows” with sandpaper and a polisher.

Because the original equipment tags were beyond saving, and this is nothing close to a faithful restoration, I decided to give the machine some personality. I was told that it was military surplus at one point, and, well, grinding wheels are known to explode if mistreated, so I went with a WWII bomber theme as a warning to respect the old girl. Classy, right?

Dust Collection
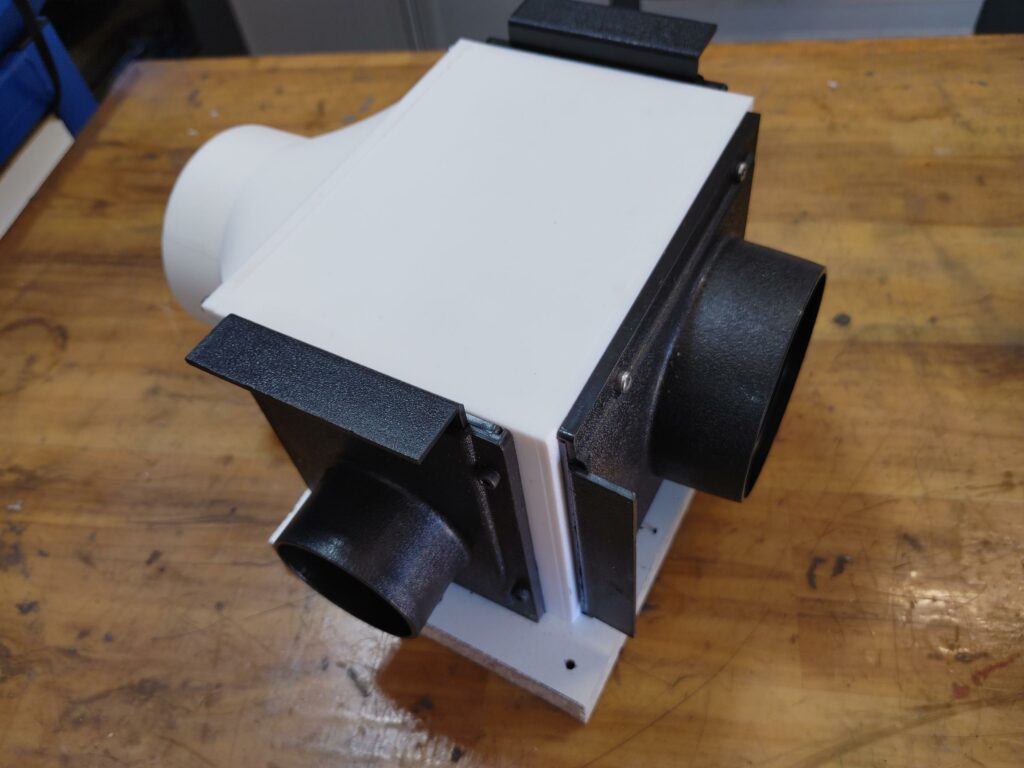
The Queen City grinder guards came fitted with 2″ ports for a dust collection system. I have a cheap eBay dust collector and have no interest in building a complicated system, so I just 3D printed a junction box that takes the 4″ hose from the dust collector and splits it into three paths, each with a blast gate. The upper 4″ gate goes to my surface grinder, the right gate to my belt sander, and the left gate to the Queen City grinder.
With everything cleaned up, bearings spinning smoothly, wheel balance verified, and the dust collection connected, there was nothing left but to connect the power, dress the wheels and take it for a spin. I was blown away by how smooth the grinder runs, with less noise and vibration than a typical 8″ bench grinder, even with the latter’s wheels balanced (see video below).
This smoothness may be par for the course when it comes to the larger industrial pedestal grinders and their heavier wheels, but it was news to me. All in all, I think I lucked out with this one. I probably had less than 8 hours in it to get it up and running, and know it will probably outlive me – with or without exploding wheels.