Having temporarily repaired the quill clamp collar and gotten the Milwaukee milling machine running on a VFD, it is time to fire it up and see what we have on our hands. But first, as with any old machine, a good cleaning and change of fluids is in order.
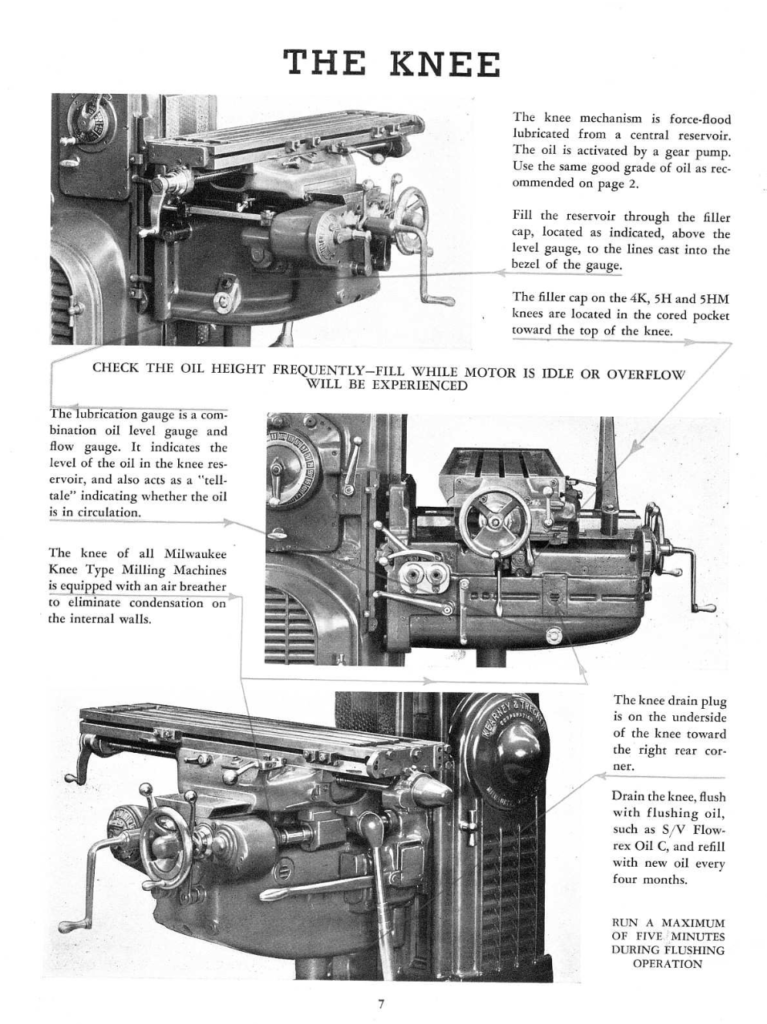
A reprint of the original K&T lubrication guide is available at the excellent vintagemachinery.org site and walks through all the lubrication points. The spindle in these “swivel-head” mills is greased, which we handled when we had it apart to fix the clamp collar. Ditto the bearings in the motor, which we similarly cleaned and repacked when we had the motor out.
That leaves the oil in the oil reservoirs in the column, knee, and saddle (there are three).
While the column still had sufficient oil, it was jarring to see that the knee and saddle were both dry. That definitely won’t do.
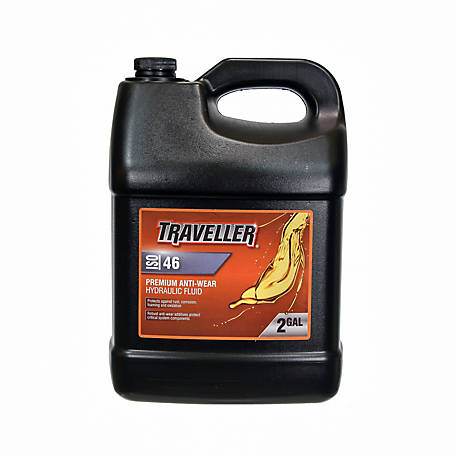
The lubrication manual recommends using a “heavy medium” oil of Saybolt Universal Viscosity of between 300-325. I’ve seen others recommend Mobil DTE, but that stuff is expensive. Some research showed that Saybolt 300 corresponds to 20 weight SAE Crankcase oil or ISO 46 hydraulic oil. Knowing that I’m likely to tear into the mill before long and any oil is not likely to stay in the machine, I opted with ISO 46 “Traveler” brand hydraulic oil from Tractor Supply ($33 for two gallons).
Before filling it, the K&T lubrication manual recommends periodic flushing of the reservoirs with kerosene. I opted to use mineral oil instead. The flush procedure involves running the mill for 5 minutes, so the next order of business was getting the machine running. After draining the old column oil, I reinstalled the motor and two new Gates B-60 belts, which fit perfectly.

The wiring into the motor starter at the back of the machine was not labeled, but using a multimeter, I was able to see which was L1-L3, and used the original extension cable to connect to the VFD, now wall mounted. This effectively bypassed the “on-off” switch on the spindle clutch lever.
In the process, I took time to clean the machine and to scoop the accumulated years of chips and crud out of the coolant sump at the base of the machine.
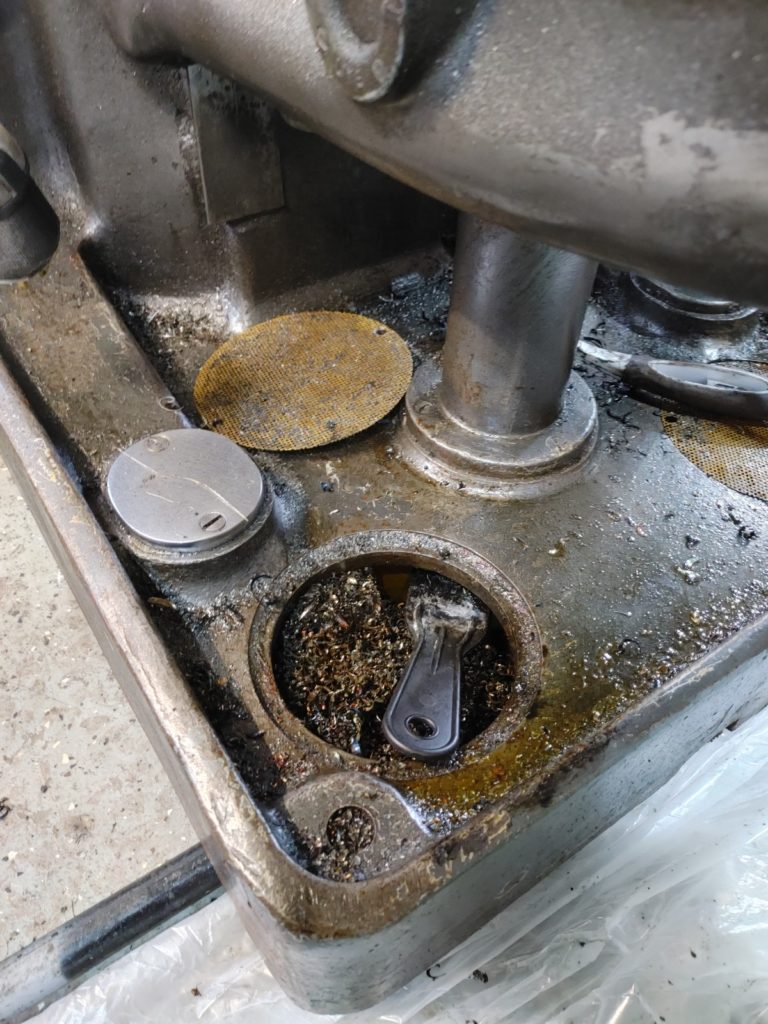
That done, I filled the column and knee with mineral oil and ran the spindle for five minutes, I then drained both into the coolant sump, so the mineral oil could help to dissolve the sludge there. Similar to the experience of others, it was interesting to see how much gunk came out.
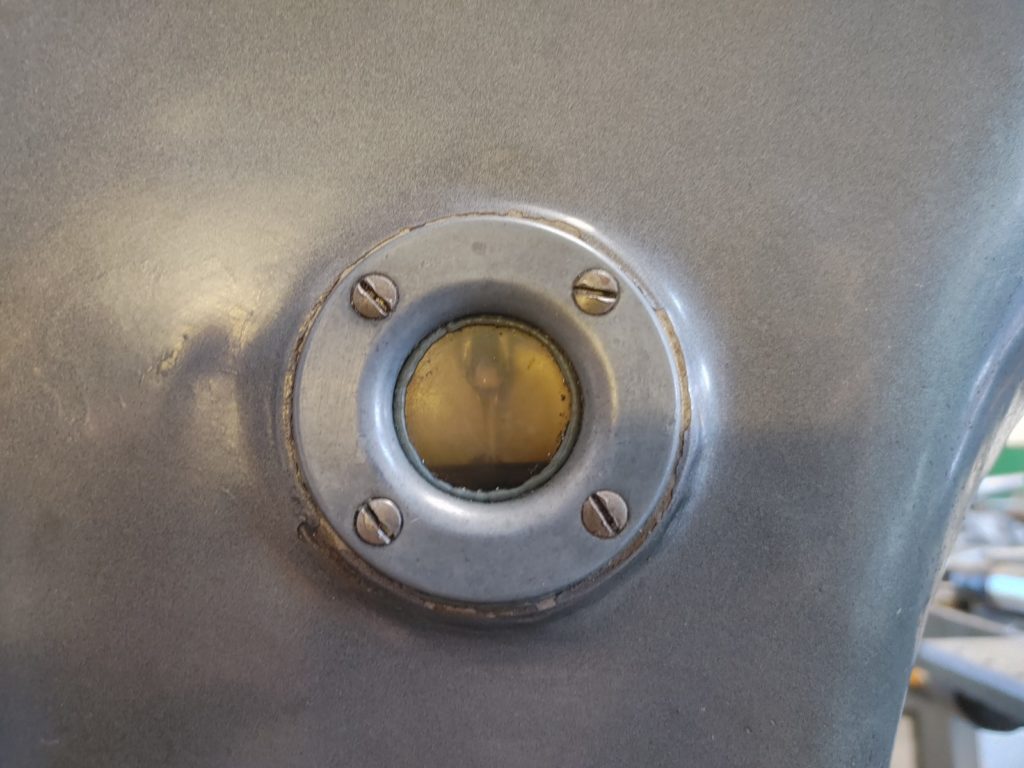
After filling with the ISO 46 I was pleased to see good oil flow in the column sight glass. The level in the knee sight glass dropped when the machine was turned on, which tells me something is pumping, but a full inspection of the knee oil pump will have to wait until I have the knee apart.
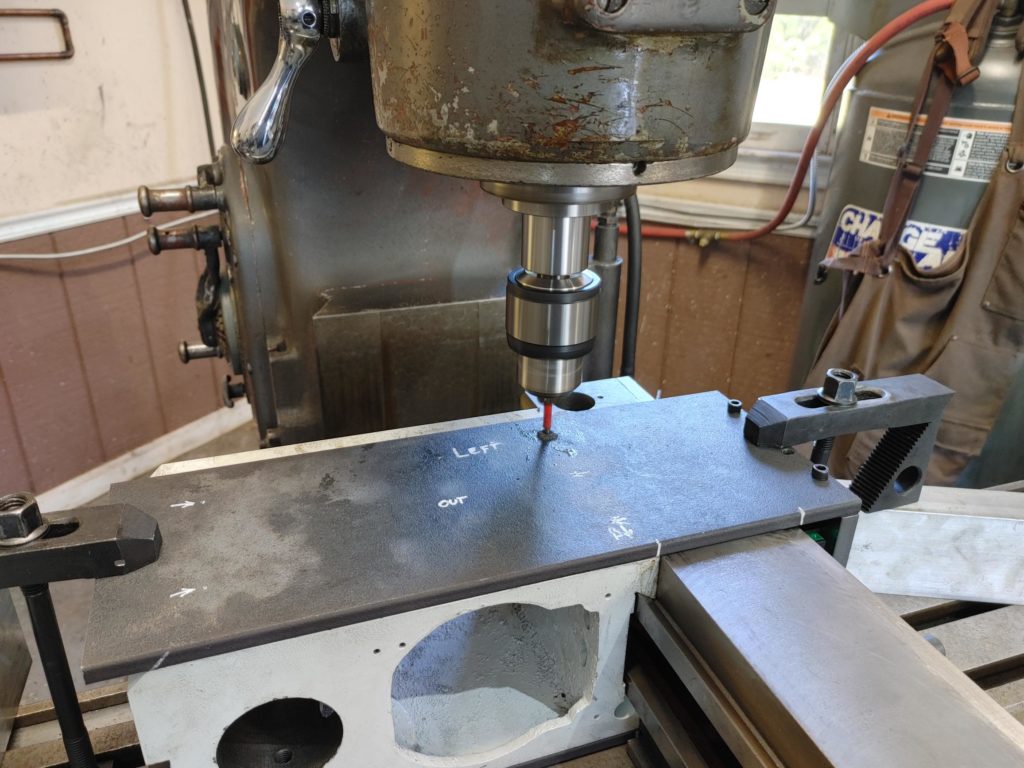
The machine fired up, it was time to perform some simple drilling and milling operations to see what I’m dealing with. Here is what I found.
The Good:
I was pleased to see that all the machine mechanical speeds worked fine. The motor made plenty of torque with the VFD and didn’t bog down at all when making light cuts using a 4″ shell mill. All of the machine power feeds, including the knee, worked on all axes.
The Bad:
Unfortunately, the rapids only worked briefly along the Y axis. Trying to engage it along the X axis resulted, first, in an over current trip in the VFD then, when that was reset, what seemed to be a slip of the clutch. It is clear that there is something wrong with the X-axis rapids that will have to be fixed. The problem may also be with the clutch.
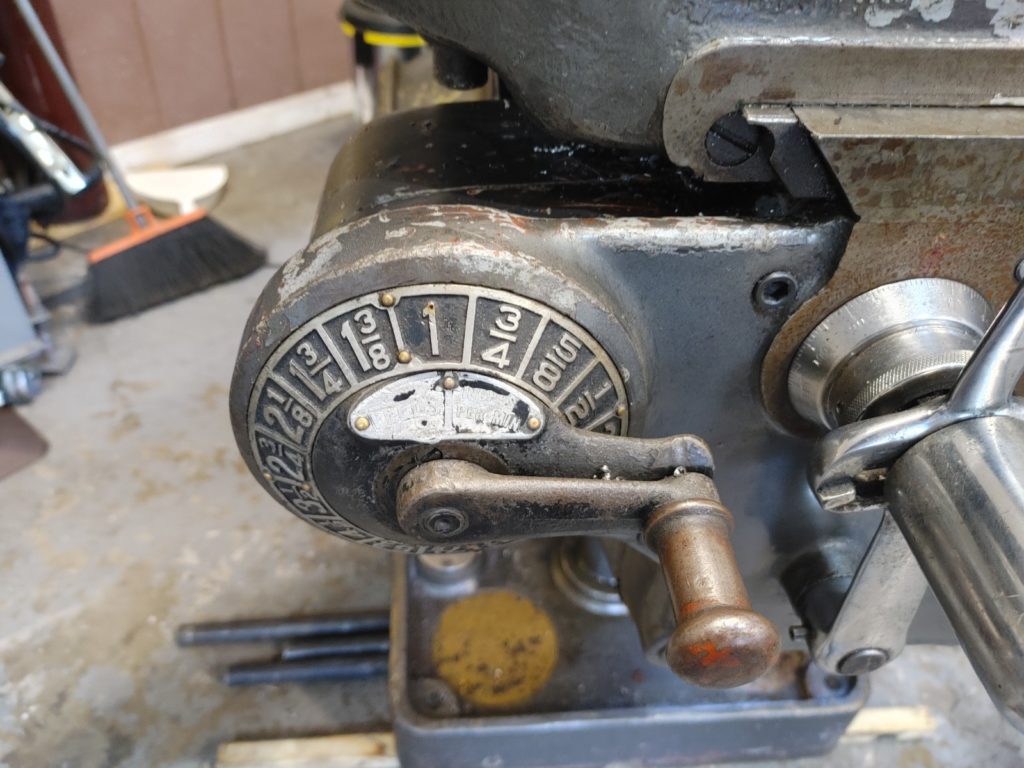
Another problem was that all feeds faster than 7.5 IPM didn’t work. Anything up to 7.5 works fine, but anything faster doesn’t. Again, something has gone wrong with the feed gearbox and it is clear that the front of the knee where that gearing resides will have to come apart.
The Ugly:
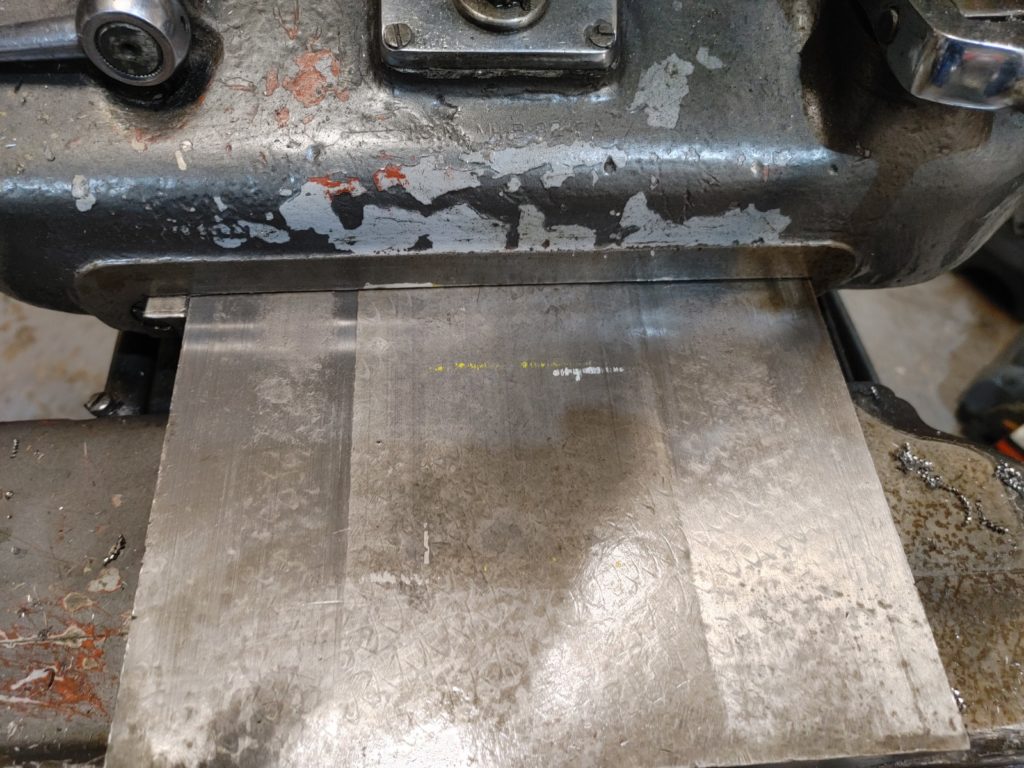
Maybe not “ugly” exactly, but my biggest disappointment was in the wear along the Y-axis. Attaching a dial indicator to the spindle and sweeping it along the table showed only moderate wear (2-3 thou) across an 18 or so inch X-axis distance. Not great, but not bad.
I had similar hopes for the Y-axis, where a worn strip is clearly visible, but the ridge could only just catch a fingernail and, indeed, flaking marks are still visible along some portion of the ways.
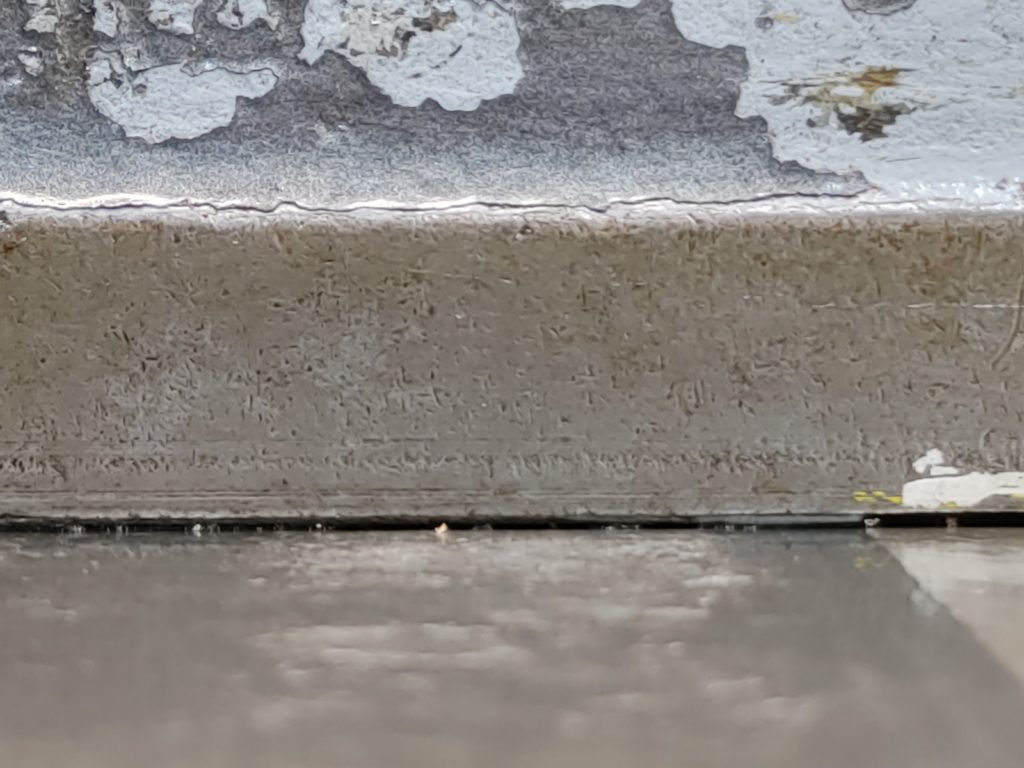
But the dial indicator doesn’t lie. It showed a difference of about 5 thou over less than 8 inches of Y-axis travel. Not good at all.
Upon closer inspection it is clear that some sort of shim has been applied to the bottom of the saddle ways. I can’t tell if this is Turcite, or some other jackassery, but it is 100% clear that the saddle will also have to come off and scraping and/or grinding is in the future.
So here’s the plan. I’ll keep the K&T together until I finish the Benchmill 6000 CNC retrofit, then the table, saddle, and front of the knee will all come off. At a minimum, I’ll scrape the top of the knee flat and perpendicular to the column and more than likely apply a new wear strip (Turcite B) to the bottom of the saddle and will be scraping that in.
Of course, the problem with the higher feeds will need to be addressed, and I’ll have to figure out what is wrong with the rapids. I’m reasonably optimistic about eventually fixing the feeds, but am less so about the rapids. New clutch springs may be in order, but the pessimist in me fears that there is something else wrong in the gearing that is causing binding along the X-axis mechanism.
Stay tuned … I hope to start on this next phase before year’s end.