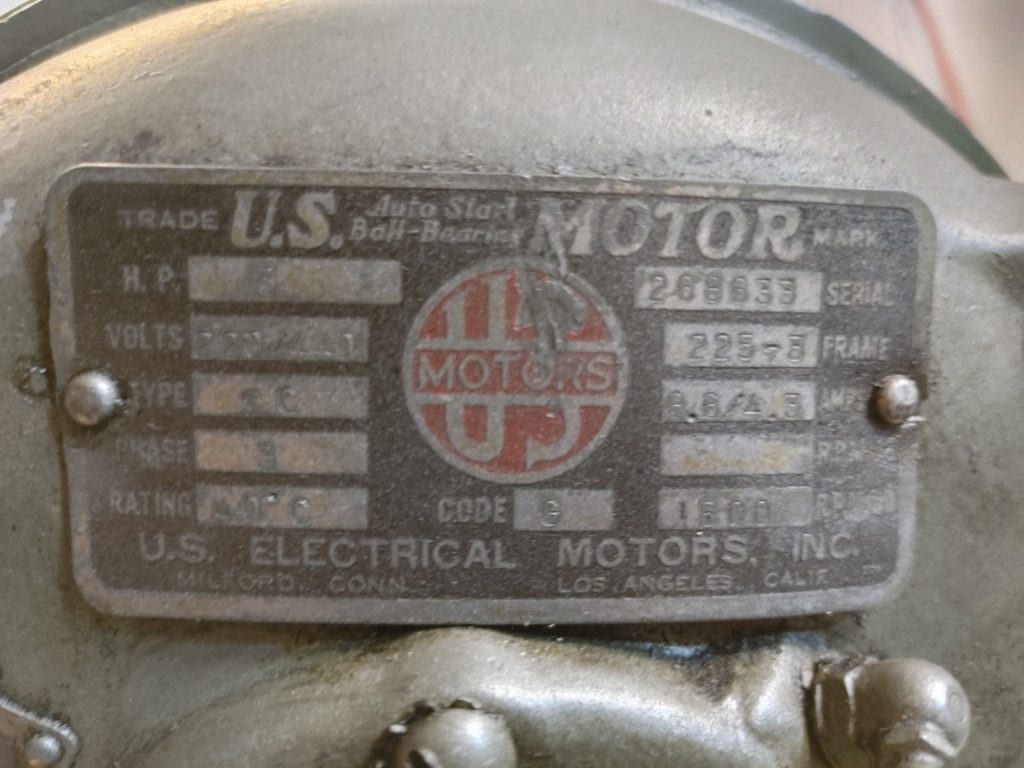
So the first task after getting the Milwaukee 2HL Vertical mill home is to get it running on 220 volts, single phase. The motor on the 2HL model is a 3HP “U.S. Motor” brand 3-phase model, rated for 1800 RPM. My understanding is that the 2H models came with a 5HP motor, but three should be fine for my purposes, assuming I can run it on the 220 volts available to me.
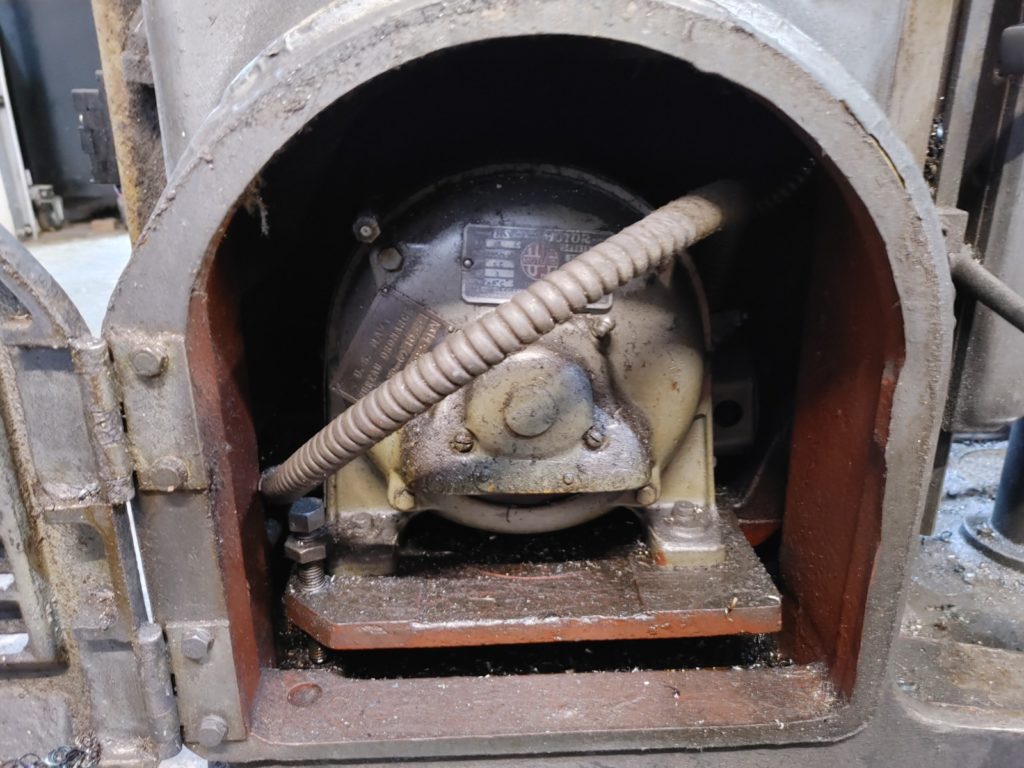
On these Model 2Hs, the motor lives in its own little cave at the base of the machine.
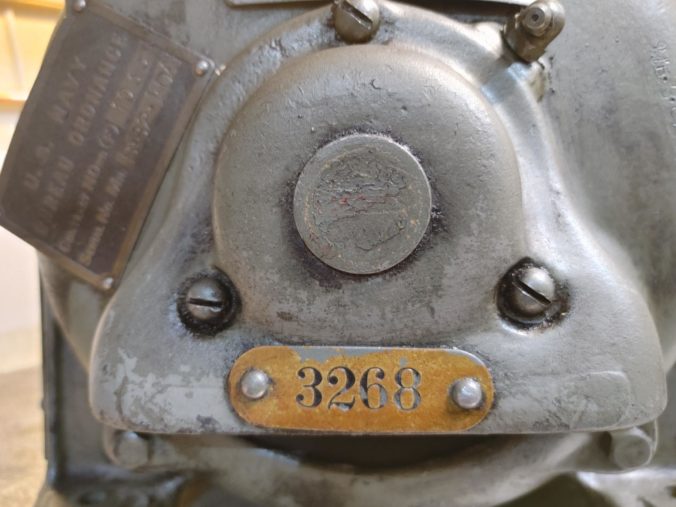
From the serial number, I knew my mill was 1942 vintage. On closer inspection the 3HP motor still has its Navy ordinance tag. Yep, dealing with a war hero here.
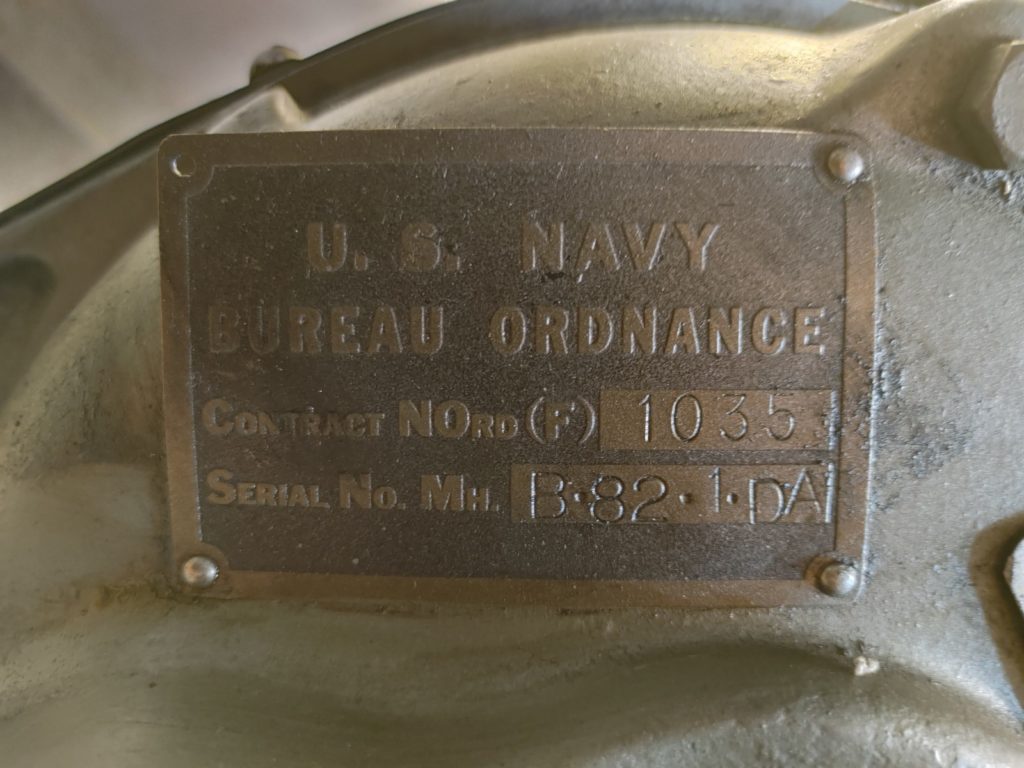
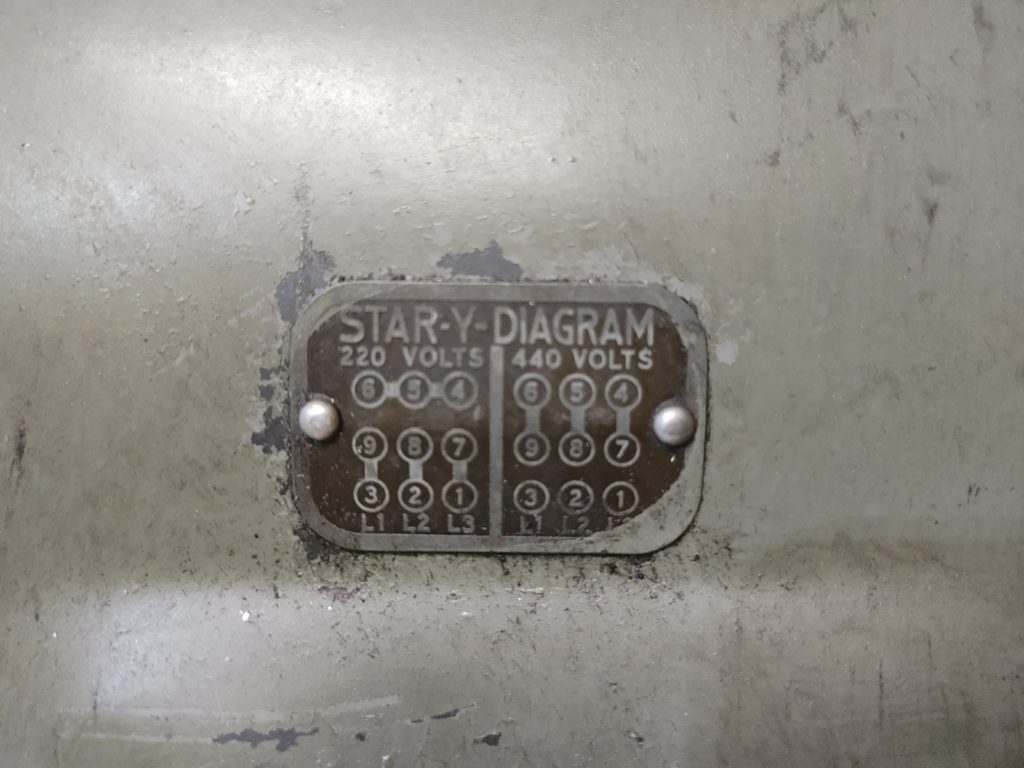
At the mold making shop I bought the mill from, they said they had it running on 440v power. When I bid on it I gambled and assumed the motor could be wired as either 440 or 220 volts. Sure enough, it can be. Here is the wiring badge for anybody else facing one of these with a lost badge:
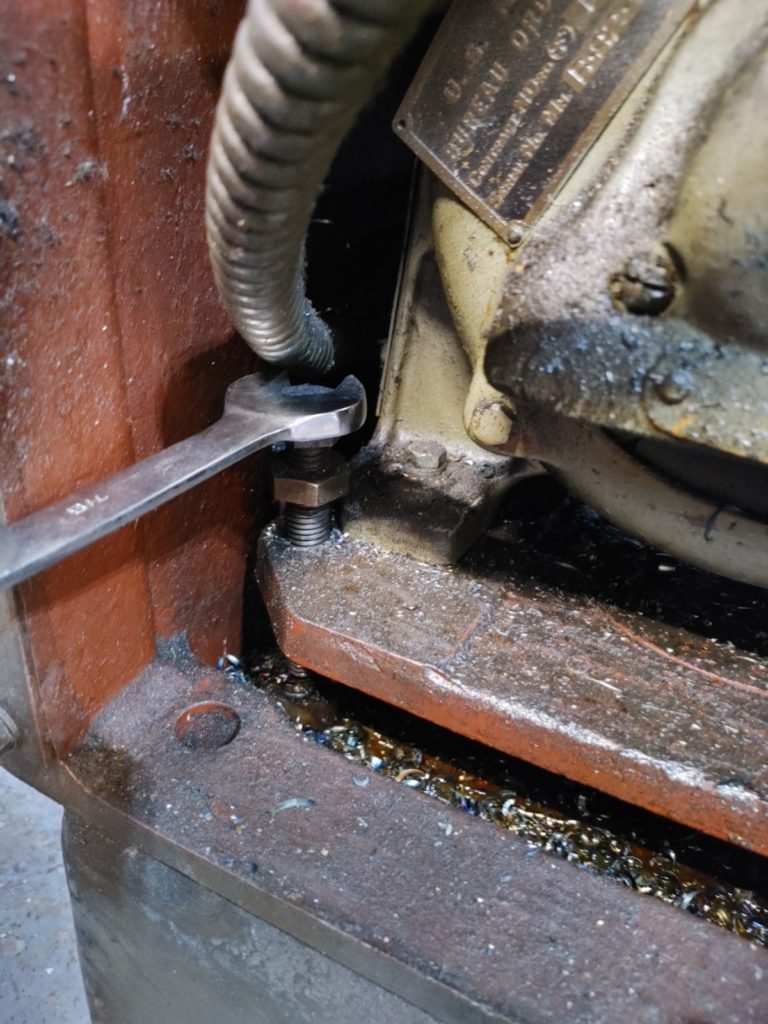
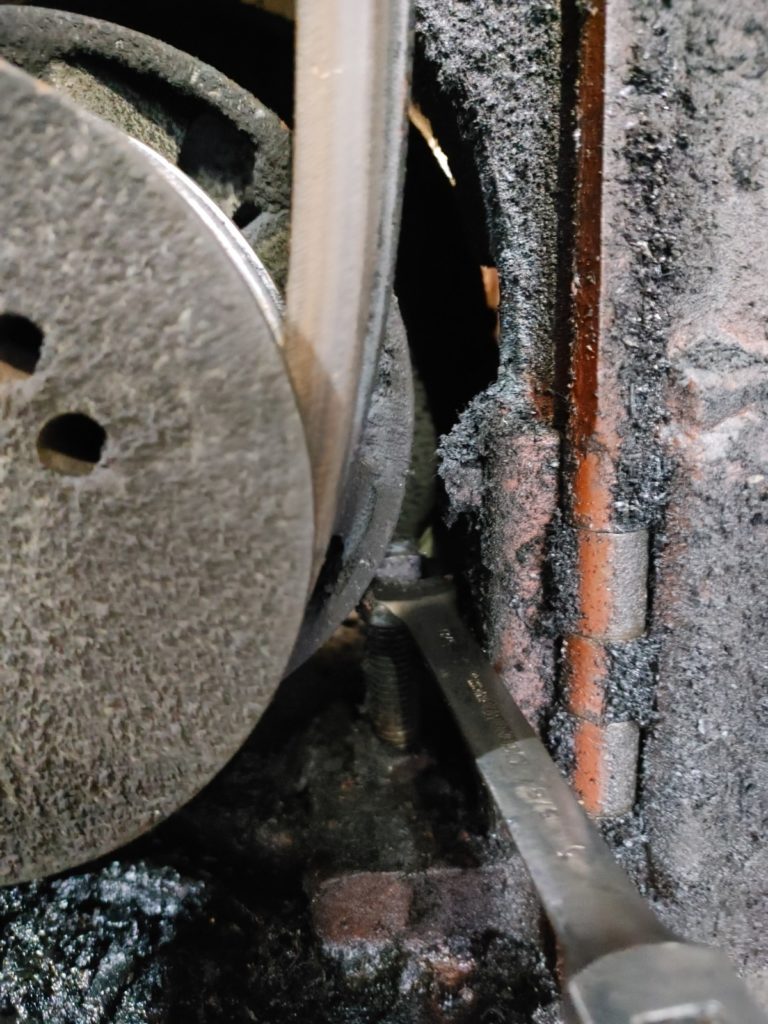
Getting the motor out of the machine was fairly straightforward. The belts are removed by loosening/tightening two bolts that hold the motor platform in tension. One on the left side of the mill, and the other on the right.
With the belts off, the four motor mounting bolts are easy to remove and the motor slides right out. The 3HP is heavy, but not so much that one person can’t handle it.
I then opened up the wiring (sorry, no pictures, but the wiring is accessible via a junction box on the side of my example). Even though they told me the machine ran on 440v, I could see that the motor was already wired for 220v. Hummm.
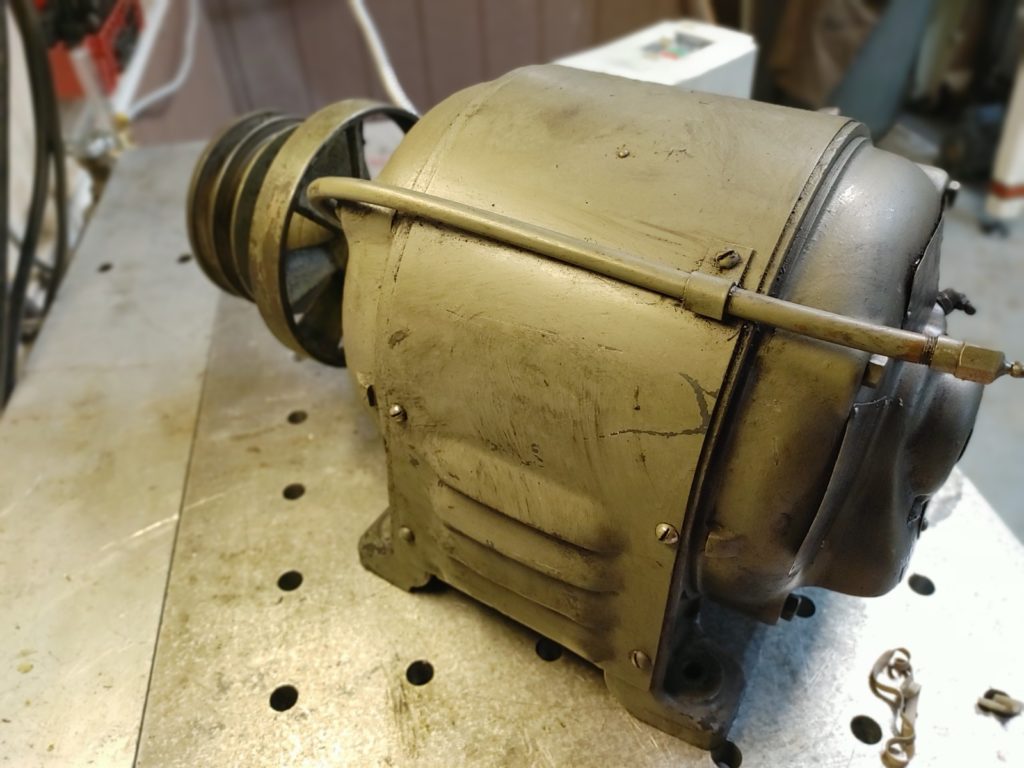
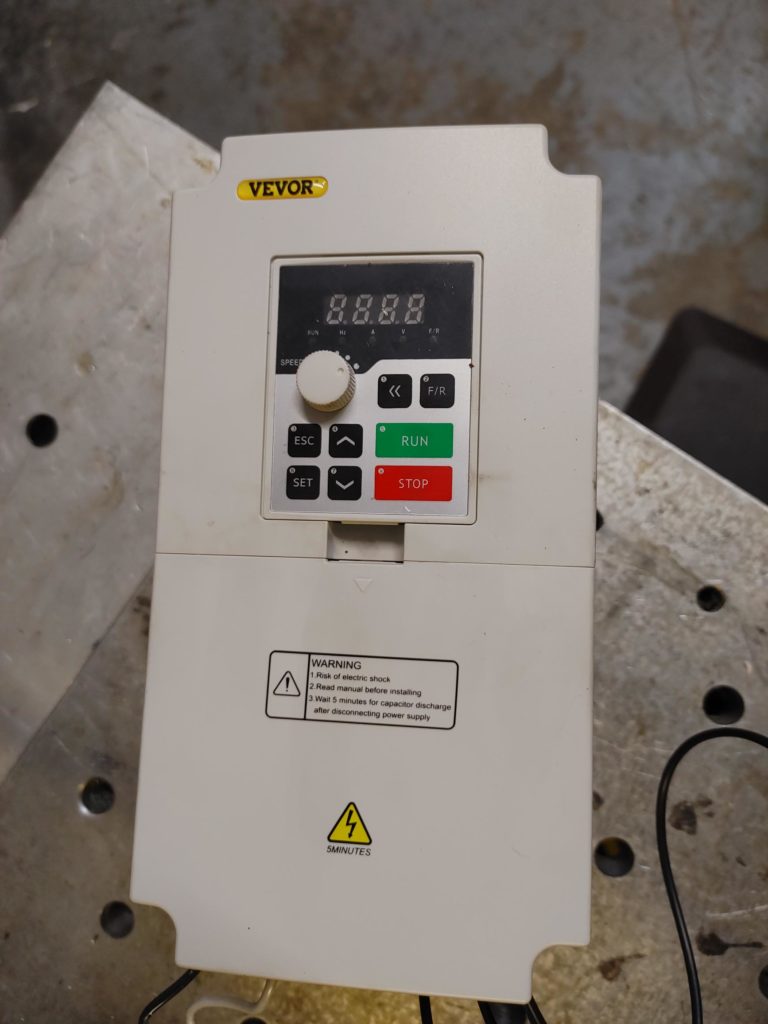
After cleaning up the motor I got it on my bench to test it with the VFD.
My strategy with VFDs (which has bee successful so far) is to go ahead with the cheap Chinese stuff on Ebay, but to size the device at two or three times what the motor is rated for. So in this case, I went with a 7.5 KW VFD for the 3HP motor.
Hooking it up was fairly straightforward. The hot and neutral wires from my 220 volt supply went to L1 and L2 on the VFD. The L1, L2, and L3 leads from the motor (old fashioned designation) went to U, V, and W, respectively.
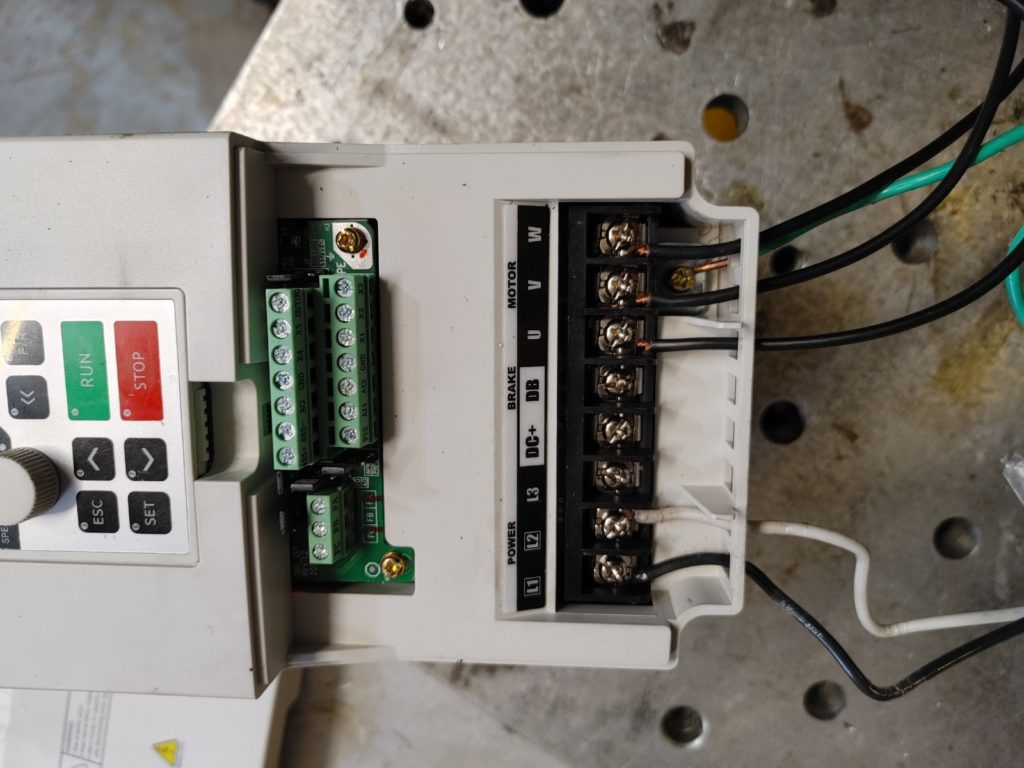
WARNING: The default settings on the VFD I got were totally wrong and if anybody reading this buys this brand, I’d strongly recommend you reset them to factory as a precaution. For example, maximum voltage on the unit came set for 380 volts, despite the fact that the unit is only rated to 240.
After figuring that out, I did a manual factory reset, then entered the settings for motor HP (3), rated voltage (220), rated amps (8.6 at 220v), RPM (1,800), and motor poles. I had to calculate the latter from maximum RPM at a 60HZ U.S. frequency, which let me know this is a 4-pole motor.
I fired it up and noticed the motor struggled to get to the 60HZ operating frequency. By reducing the “intermediate frequency” setting from 5HZ to 1HZ, I made it work. I’m not sure what is going on with that since I would have assumed that a higher intermediate frequency would have resulted in more power early in the voltage/frequency curve, but I’m clearly missing something. I also increased the low frequency torque setting and reduced the ramp-up time from 12 seconds to 8, and set it to start the ramp from 10HZ.
With that, it seems to run to speed nicely. While I have the motor out of the mill, I’ll go ahead and clean and repack the bearings.
I’ll also need to get to the bottom of the intermediate frequency setting, and maybe play with DC braking, but for now once the bearings are repacked I’ll get the motor back in the machine for further testing.
Next up, we’ll tackle an apparently broken quill clamp collar, which needs to be done to get the mill usable for our CNC project.