It has been a minute since I’ve posted on the K&T 2HL overhaul, but rest assured, things have been very busy in the background. Having fixed the stripped feed gearing, work has focused on correcting the poor Y-axis travel behavior we noticed on the initial tear down. Recall, we were seeing the table rise around .005″ over just 8″ travel.
Fixing this ended up involving quite a bit of somewhat tedious hand scraping — in particular, scraping the top of the knee flat and perpendicular to the Z-axis quill travel and making sure the dovetail ways were parallel and aligned perpendicularly to the X-axis of travel . There are TONS of much better scraping hands out there and, for that matter, there are tons of better hand scraping tutorials. An expert I ain’t, but I’ve usually been able to get decent enough results in the past (and did so here) so in case it may be useful to someone, I’ll walk through my basic steps.
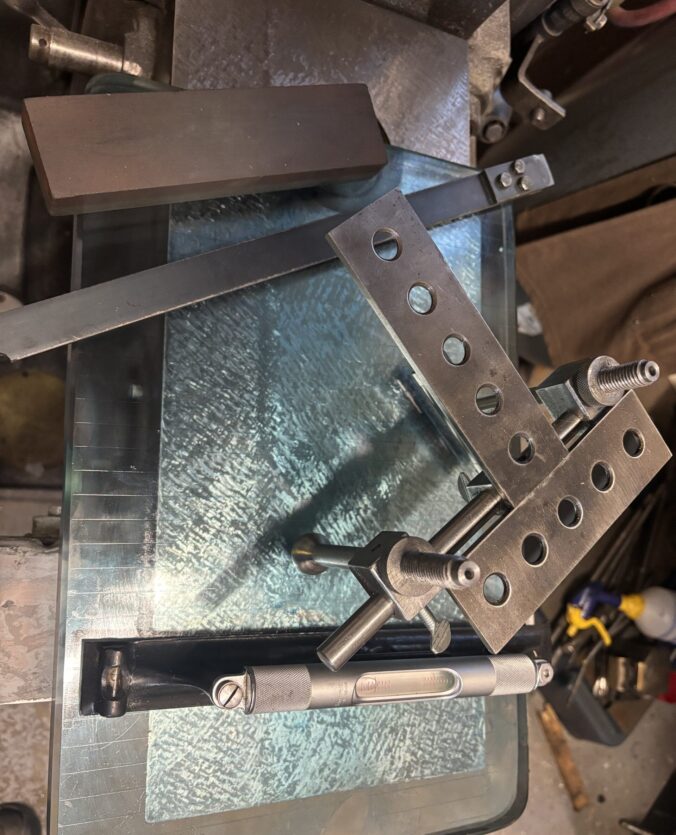
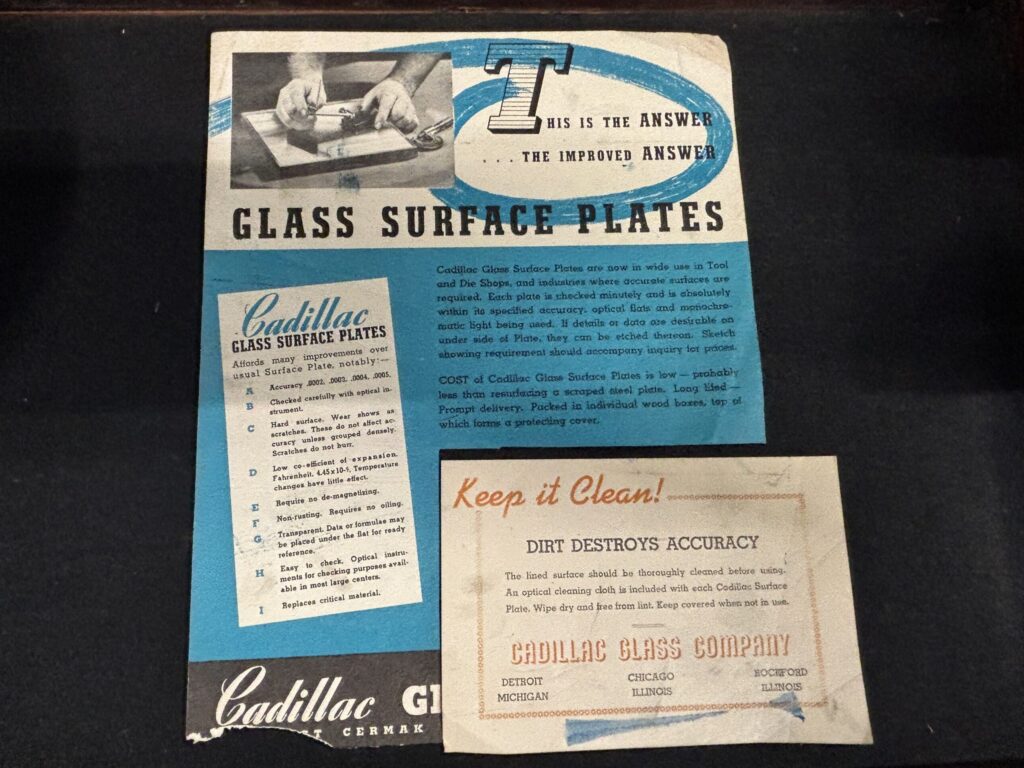
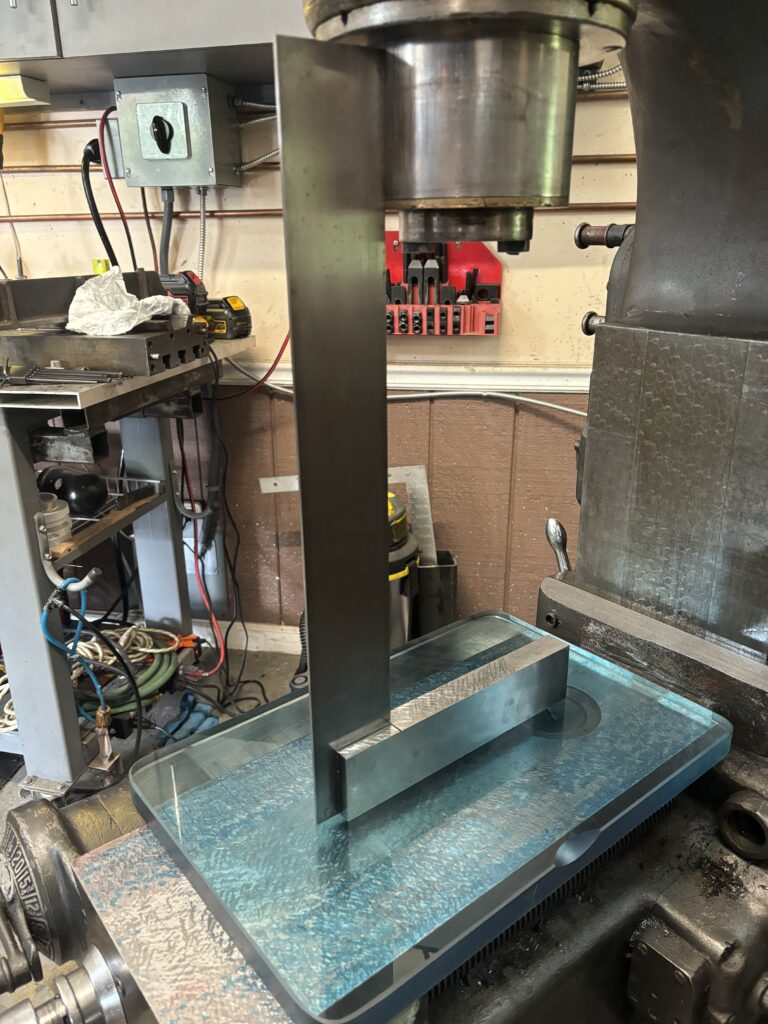
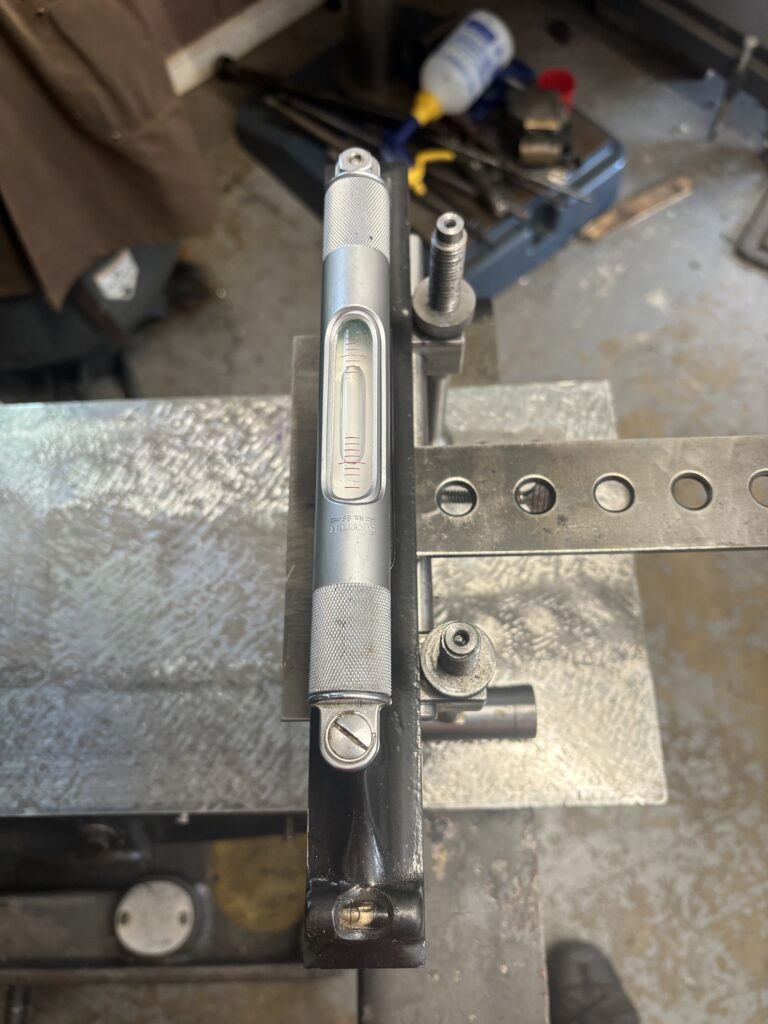
The photos above the fold and below show a few of my tools – a shop made scraper with ground carbide inserts, a camel back straight edge, a trapezoidal shop made straight edge, a precision level, a 20″ engineer’s square, a shop-made King-way alignment tool, and a shop made dovetail measurement tool. Invaluable for the initial stages of this project was a glass surface plate (such things were once made, believe it or not). I did not find the glass plate to be accurate enough to rely on for the finish work, but for getting the rough scraping of the top of the knee down while ensuring that everything stayed coplanar, it was a great time saver.

Scraping top of knee ways flat, coplanar and perpendicular to Z-axis
I won’t repeat here how to scrape surfaces flat since, as I said, there are plenty of better tutorials out there. In terms of basic approach, I alternated between the glass surface plate and the camel back straight edge in the early stages, checking periodically to make sure the top of the knee remained perpendicular to the Z-axis of travel measured both from the quill and the back of the knee (I left a very slight upward tilt as recommended by the scraping pros to offset any sag from the weight of the table and saddle).
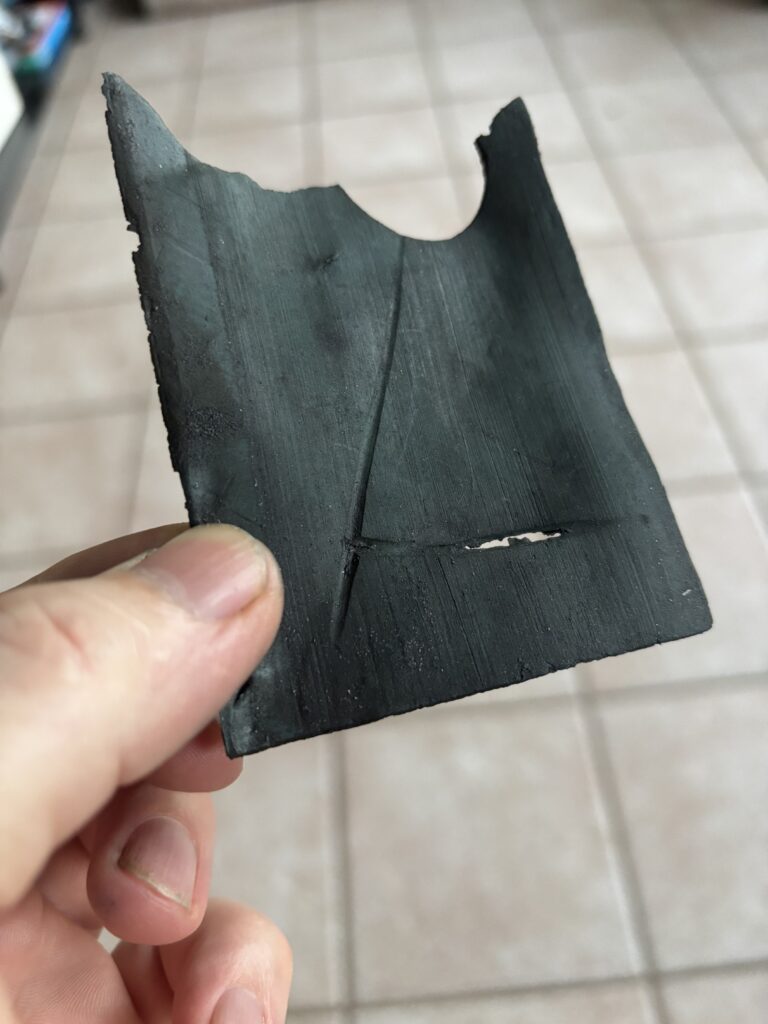
In terms of the scraping itself, I discovered that the major problem with the machine stemmed from poorly adhered turcite on the saddle flat ways. The turcite had become un-bonded on the rear, right corner of the saddle and had begun to collect swarf. Once I began bluing up the ways, I saw that there were several grooves of between .005-.008″ worn into the knee surface, concentrated on that part of the knee.
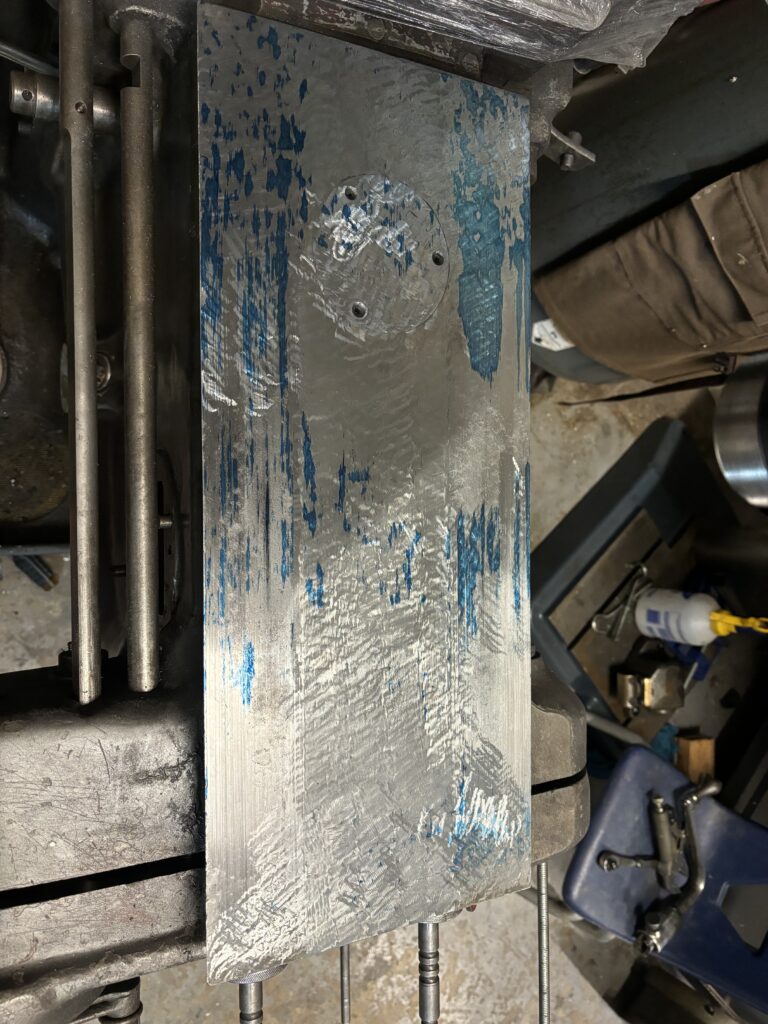
Since the majority of the knee surface was OK and my time is precious, I made the executive decision to scrape the majority of the knee flat and to ignore the deepest grooves. I’d estimate that, in the final tally, I ended up taking .002″ or so off the entire top of the knee to get things reasonably flat.
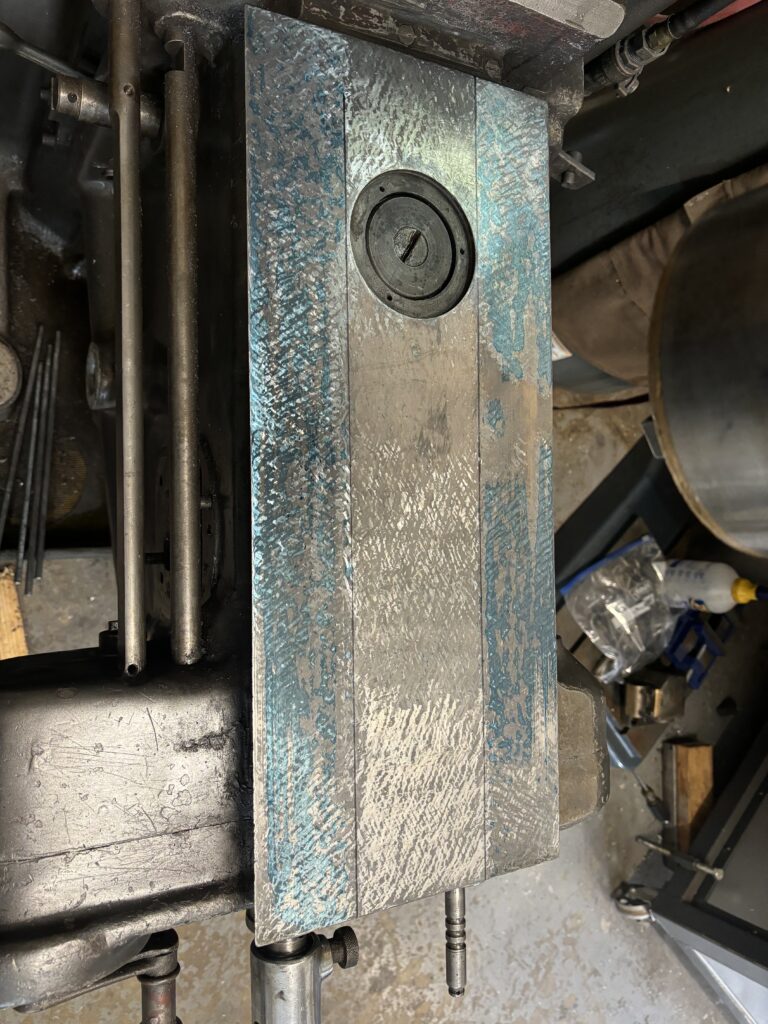
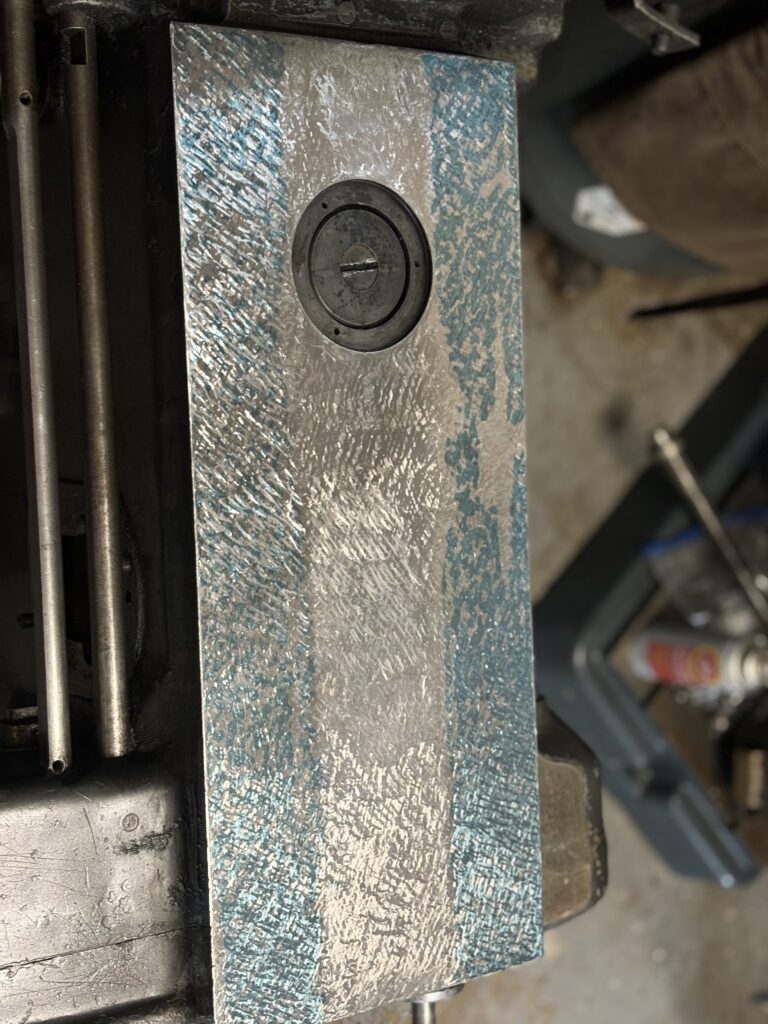
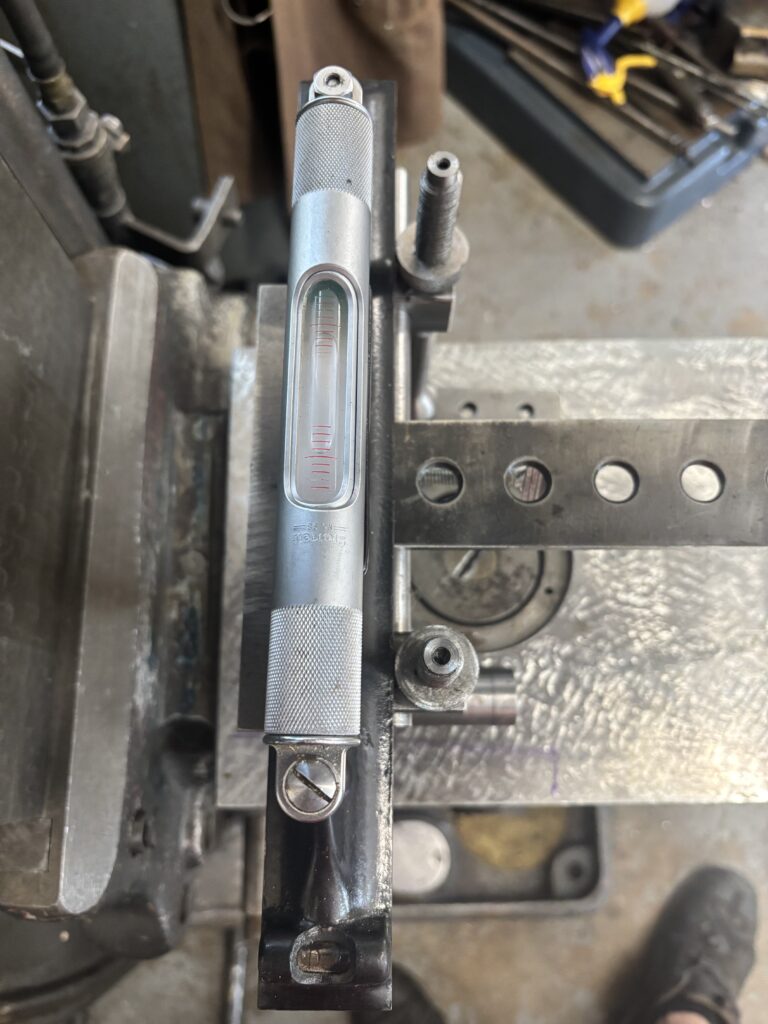
After a few rounds of finish scraping, I tested the surface with the precision level to ensure that I had not scraped in a twist or tilt. It is hard to see from these photographs, but the center of the knee is relieved, meaning the ways at either side could indeed get out of whack with one another.
Scraping dovetail ways flat, parallel to one another, and perpendicular to X-axis travel
Next I tackled the dovetail ways. I began by scraping them flat using the shop-made trapezoidal straight edge. I attempted to keep them somewhat parallel using a shop made fixture and dial indicator, shown below.

This worked somewhat well, but kept giving me inconsistent readings to the tune of .001-.002″. That not being good enough, I ended up replacing the turcite on the saddle and, after ensuring it was flat using the top of the knee as a master, I used the trapezoidal straight edge to ensure the saddle dovetail ways were themselves flat (shown in a later post). I then used the saddle as master against the knee dovetail ways, alternating between the saddle and the trapezoidal straight edge to get the ways flat and (relatively) parallel.
The top of the saddle has a handy reference surface that runs parallel to the X-axis dovetail ways. By carefully and selectively scraping of the dovetail ways on both the knee top and the saddle bottom, I was able to ensure that the ways ended up running perpendicular to the x-axis of travel. This was verified by clamping a 20″ engineer’s square to the saddle x-axis reference surface and measuring the variation along the blade as the saddle traveled across the knee.
Of course, if the saddle x-axis dovetail ways are out of alignment with the reference surface (which I expect them to be to a degree), then I’ll have more alignment work to do once I fit the table. We’ll cross that bridge when we come to it though!
As it sits, the knee top ways are flat, coplanar, and perpendicular to the Z-axis. The dovetail ways are flat, (relatively) parallel, and are allowing the saddle to travel perpendicularly to the x-axis of travel if our reference surface is to be trusted.
We’ll call this phase done and move on to the saddle in our next post.