
The biggest drawback with using Chinese mill castings for this project is that they come from the factory with … less than perfect … accuracy. Iron is iron, though, or is so within my budget range, and as as long as the casting is reasonably solid, inaccuracies can be corrected by hand scraping.
I’m not making nuclear submarines here, so I don’t need perfect precision, but if I can get the base, saddle, table, and column ways flat, parallel/perpendicular, and co-planar to within 5 tenths over a foot, I’ll be happy. And just as importantly, I feel that the manufacturers of the original machine would have been ecstatic with those tolerances.
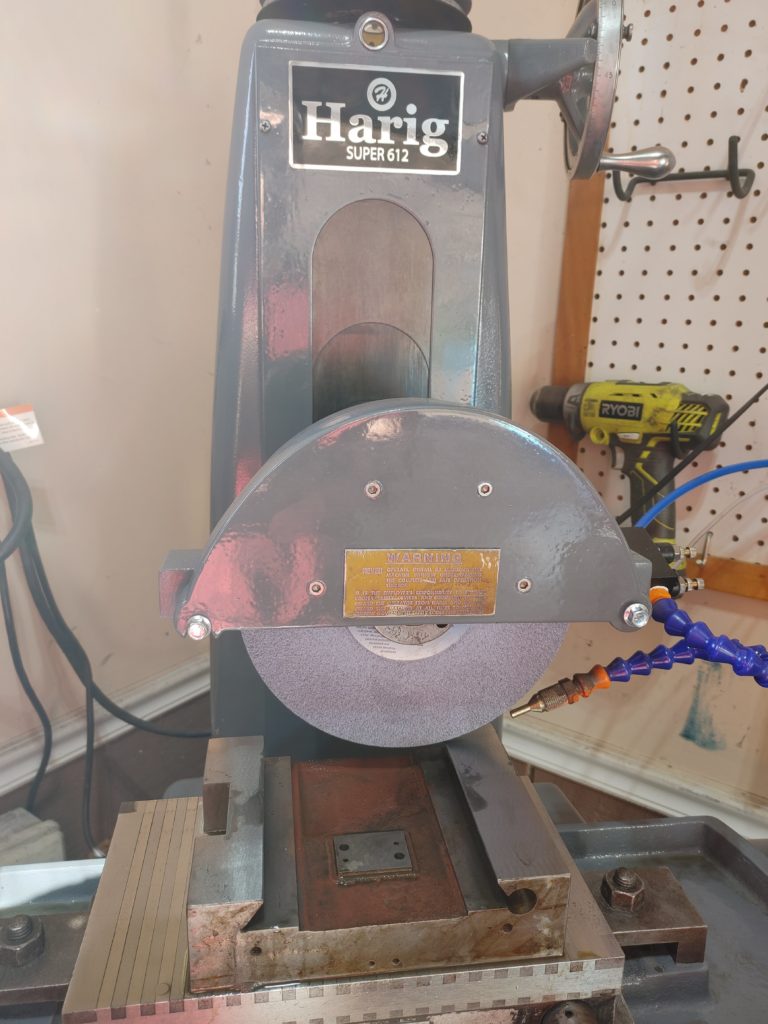
I really should start with the mill base but I’ve recently finished a Harig 612 surface grinder rebuild and have been eager to test it out. The Harig is only a 6″x12″ machine, but as luck would have it that is pretty much what is needed for the flats on the Sieg 2.7 saddle. Recall, I put the saddle casting on a surface plate when I first received it and found it to be 1.5 thou off over 6 inches. We can do better than that.
The first step was to throw it on the grinder.
After three rounds of grinding, it was flat to within 5 tenths (each graduation on the indicator in the video is .0005″).
I could get more out of the Harig, but would waste material to get there. So the plan is to hand scrape the rest of the way in.
I blued it on the surface plate and hand scraped it for 10-12 rounds per side to get it roughly where it needed to be. I didn’t video this part, but I’ll do so on later pieces. There are plenty of good resources out there on hand scraping, and there is nothing magic about the Sieg castings.
The key lessons are to take your time, don’t attempt to remove all the blue each scraping round (leave some space between the scrape marks), and to make sure you hinge the piece on the surface plate when bluing it to get a read on where the high spots are. Taking regular readings using a precision indicator also keeps you out of trouble.
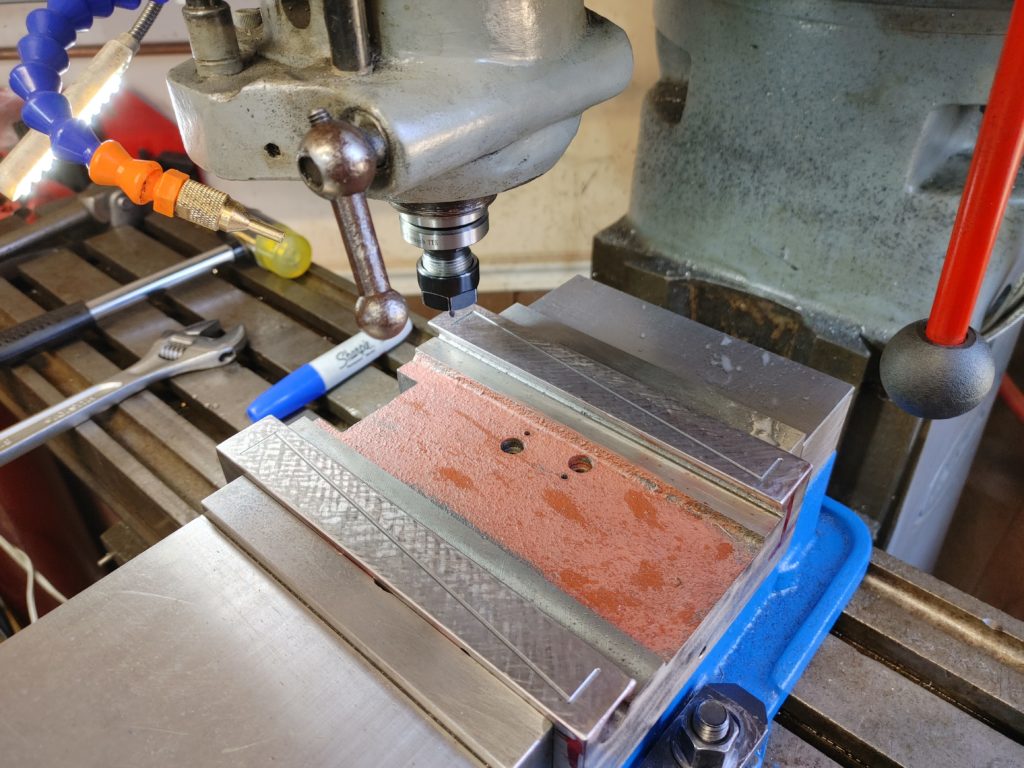
After rough scraping it I then threw it on the mill and cut the oil grooves using a 1/8″ ball-nosed endmill.
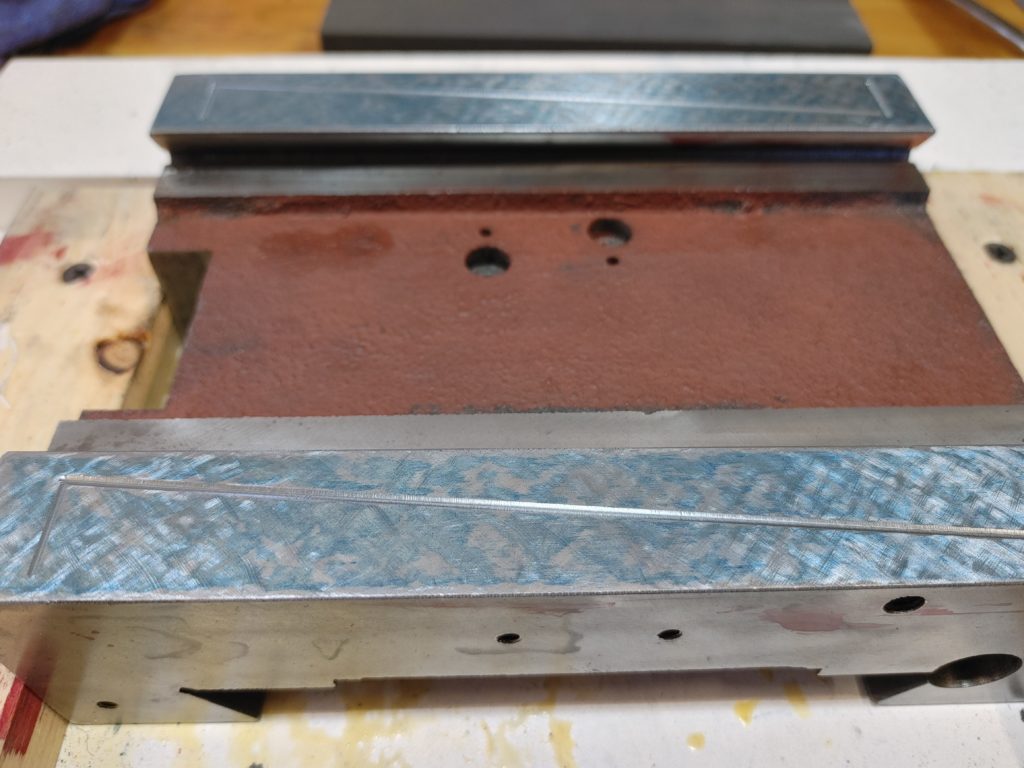
Then 2-4 more scraping rounds. I didn’t cut the oil grooves first and then do all the scraping, since the scraper can (in my hands at least) wallow out too much material around the edge of the grooves. That said, a more gradual transition into the grooves so the oil can exit is a good thing, so leaving a few finishing scraping rounds after cutting the grooves seems to do the trick.
Bluing it up, I am getting about as good coverage as I am capable of producing.
After finishing, it was flat enough that the 5 tenths indicator didn’t register much movement. Switching to my trusty Brown and Sharpe, it was within two tenths over 6″ on both the X and Y axes.
Some of that movement is a combination of imperfections in my well worn surface plate, changes in pressure as I’m dragging the indicator, and the scrape marks themselves. The latter are a GOOD THING, as it will create oil bearing surfaces and reduce stiction.
Here is the Y-axis. the small markings are 5 hundred thousandths (.00005″). The numbered increments are thousandths:
This, I have to confess, is about as accurate as I can be. I know experienced hands can do better, but we’ll take it.
Still left to do on the saddle: we’ll drill the oil supply holes once we trial assemble the mill and know where the supply lines need to run. We will also need to scrape in the dovetails together with the base/table, but those are both jobs for another day.
In another post, we’ve already machined a backing plate to reinforce the column casting. Our next step will be to scrape the base ways flat and co-planar.