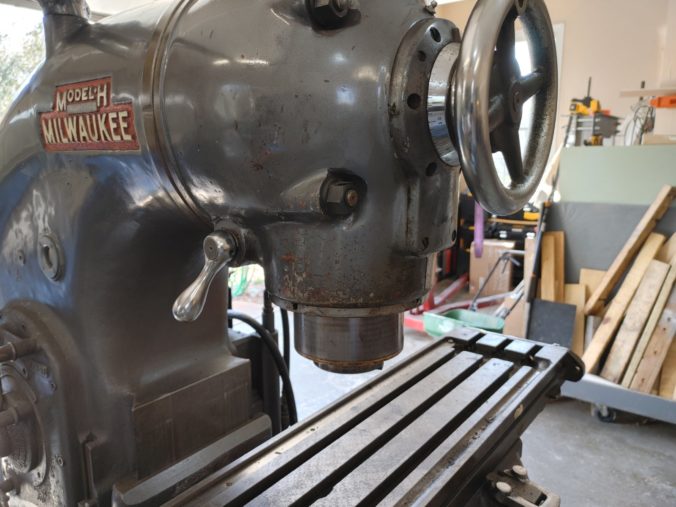
Now that we’ve got the Milwaukee milling machine running on shop 220V, we need to make it operational so we can use it to complete our CNC project.
One of the first things I noticed when I got the mill home was the jammed quill. Attempting to turn the hand wheel resulted in no movement. A bit of research led me to this great thread at Practical Machinist. Turns out that overzealous tightening of the quill clamp lever (#49 in the exploded parts diagram below) can result in fracturing of the cast iron clamp collar (#27). I immediately suspected this was my problem.

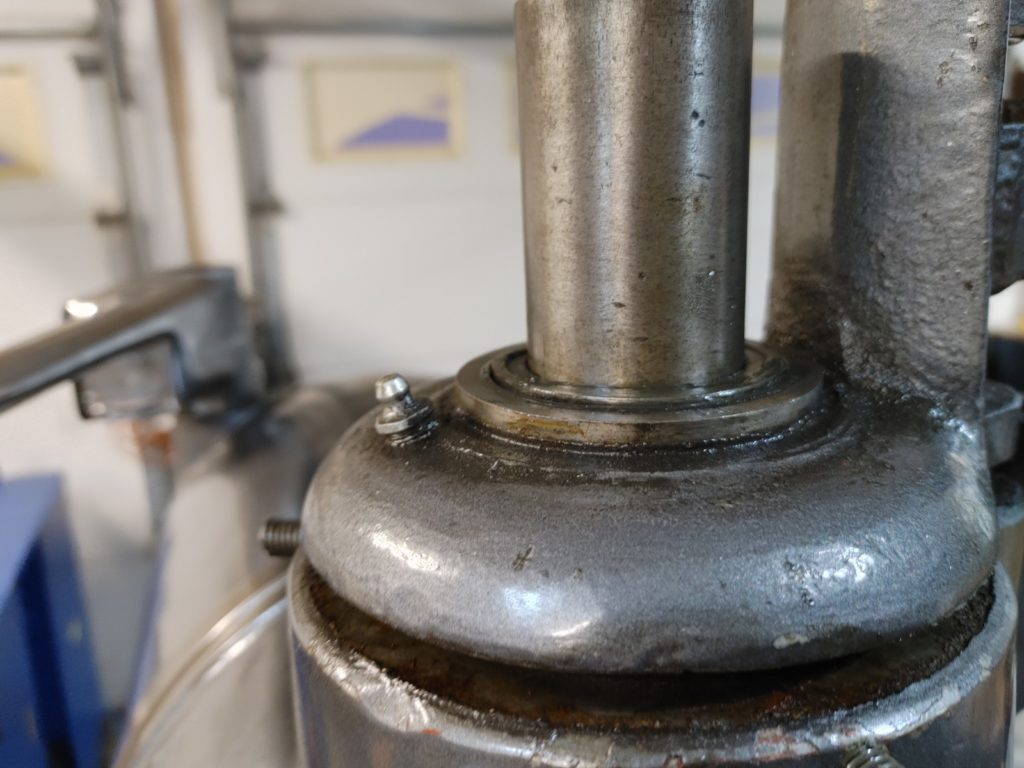
Nothing for it but to pull the spindle. The swivel head cap cover (#75) comes off with one set screw. Then the swivel head cap (#72) can then be removed by loosening three set screws around its perimeter (one is backed out in the photo below toward the rear. To remove the cap on my model, I had to remove the “positive stop check nut” (#1) so the assembly could be slid off the stop rod (#5).
I then unscrewed the 8 flat head screws holding the “swivel head cover” (#37) to the front of the swivel head. It came off with the hand wheel as one unit, no issues. Once off, I was shocked to discover that the head was suffering from a terrible lack of grease …
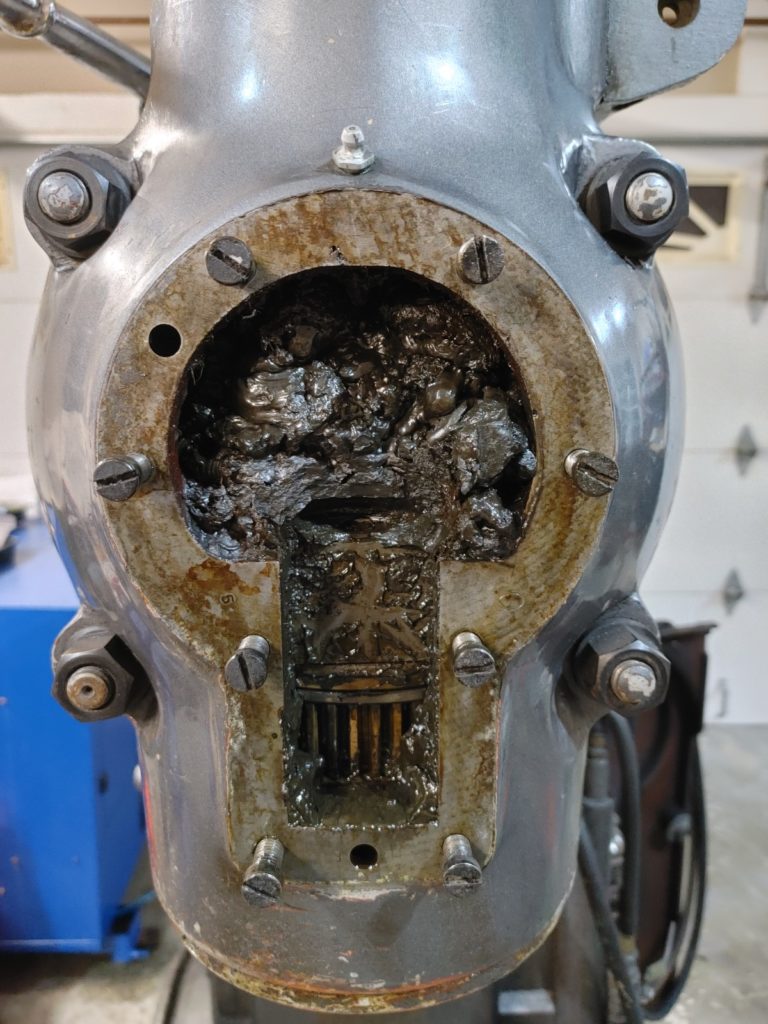
After scooping all that goop out, I next unscrewed the four flat head screws (#31) holding the clamp collar to the bottom of the swivel head. No magic here – they are open to the air and you just access them from the bottom face of the collar. This is where the adventure started. Like the OP in the Practical Machinist thread above, the clamp collar on my machine was jammed in there GOOD.
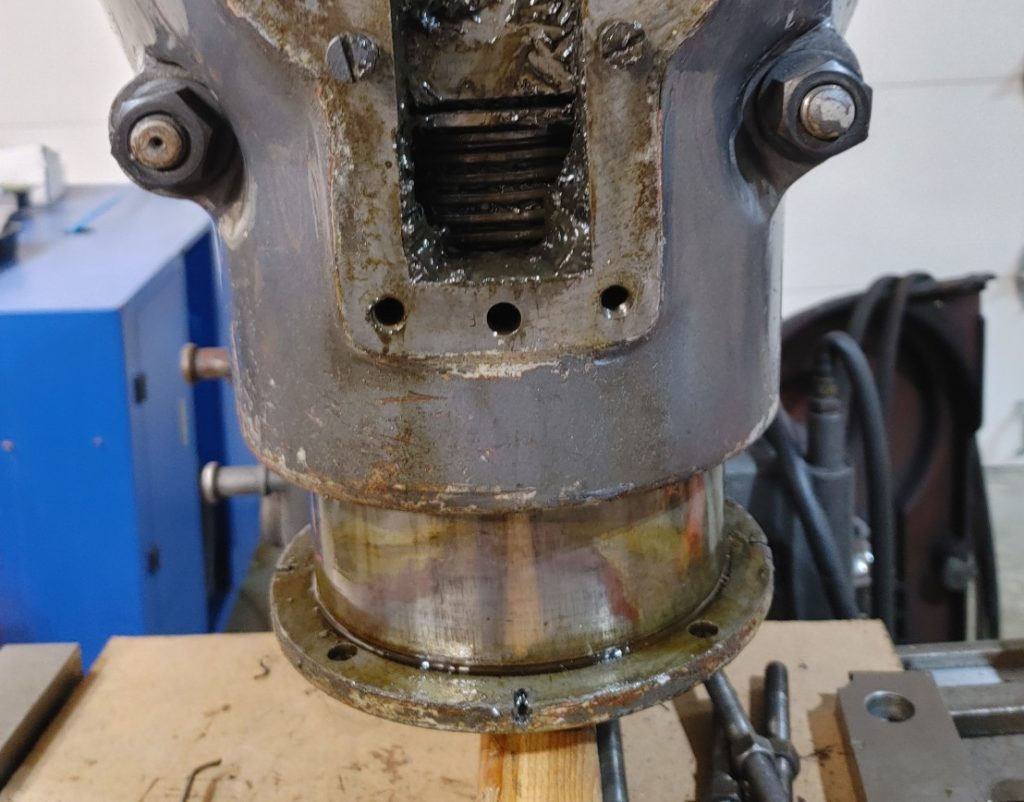
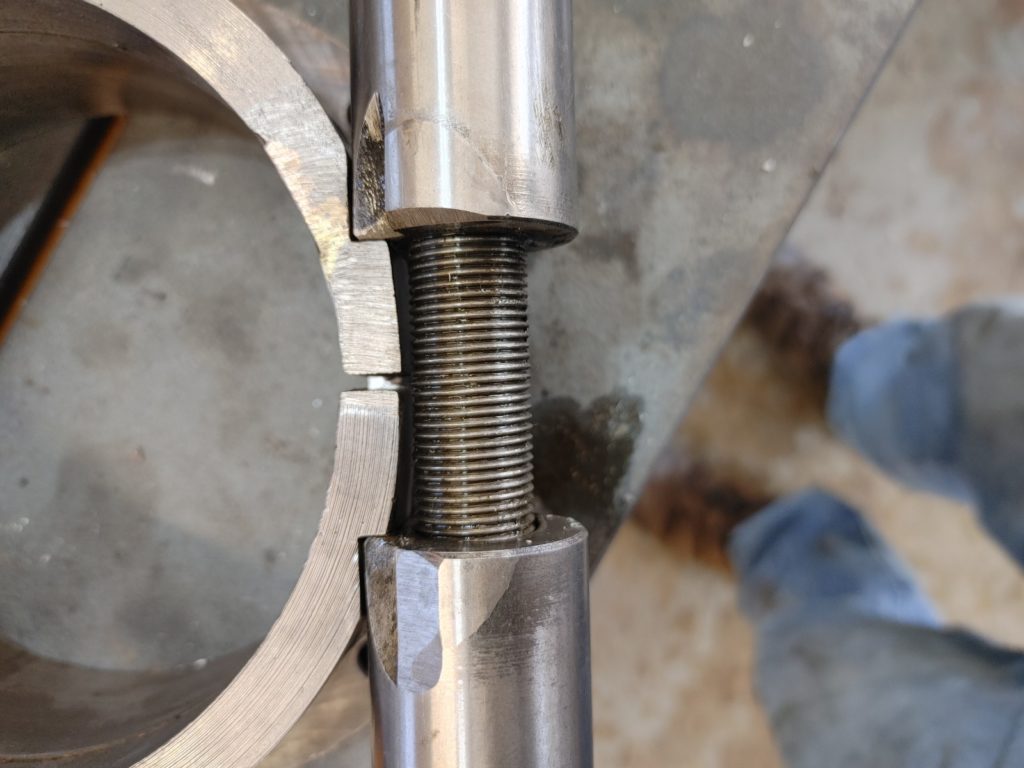
Heeding the warnings that failure to clear the clamp sleeves can fracture the collar if you forget to remove them and then force the collar out, I next unscrewed the clamp rod completely and removed it along with the “long” quill lock sleeve (#54). To fish the latter out, I used an old allen key which had been previously cut down on the short end.
I then tried to gently pry the collar out, and when that didn’t work I figured the least destructive way forward was to drill three holes in the side of the collar into which I could fit a rod to bang it out. That seemed to work, and as the collar began to come out, I noticed that it had been chewed up on the edges by what looked like someone else before me forcing it out. Hummmm.
Once the collar was out, I was able to use the table to gently lower the spindle out of the machine and to get it on the bench (sorry, no photo). I then cleaned the clamp collar and … yep, as expected, one of the clamping “ears” had broken off and presumably had been jammed into the quill, locking it. Interestingly, it was clear that someone had indeed been in the head before me and had attempted to braze the ear back together.
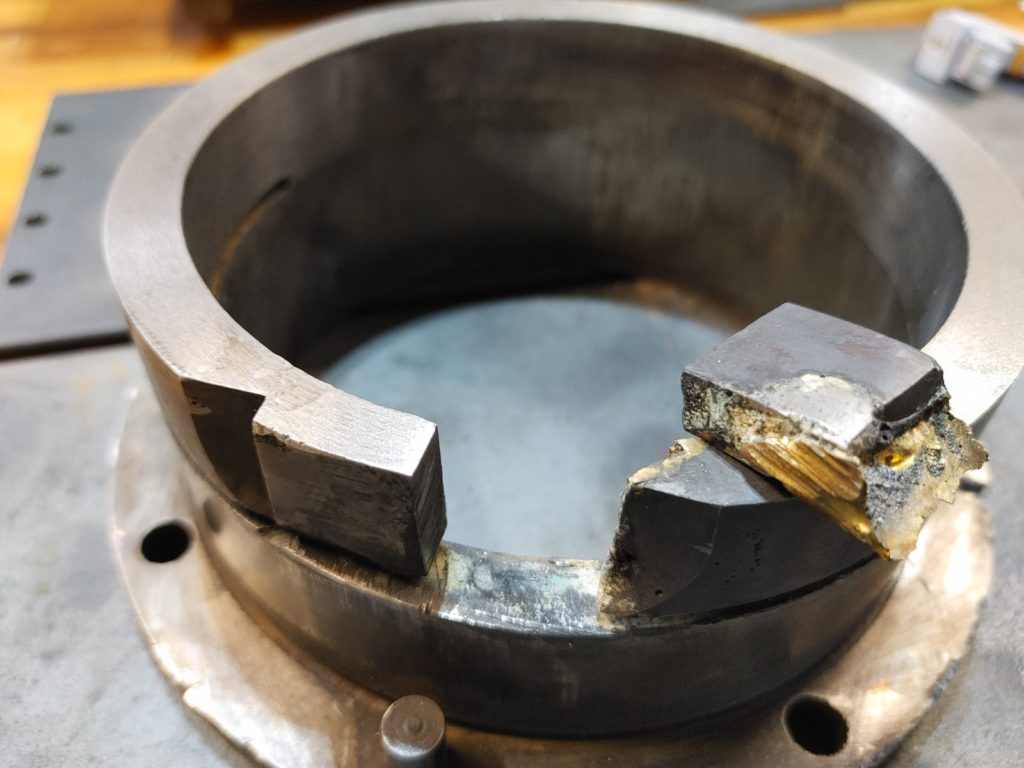
Keith Fenner has a great 12-part series on making a similar clamp collar for the vertical head on a K&T horizontal mill (bit smaller, but similar concept). I watched all 12 parts and decided that I need to do this. But life has taught me to avoid too many ongoing projects at the same time, particularly while my time is limited. So I am going to attempt a temporary fix on the K&T while I finish the CNC project and locate the correct materials to make a new clamp.
So instead of old school brazing, I TIG brazed the ear back together, and ground it back using a die grinder with a circular diamond wheel that (roughly!) matched the diameter of the cutout needed to hold the clamp collar.
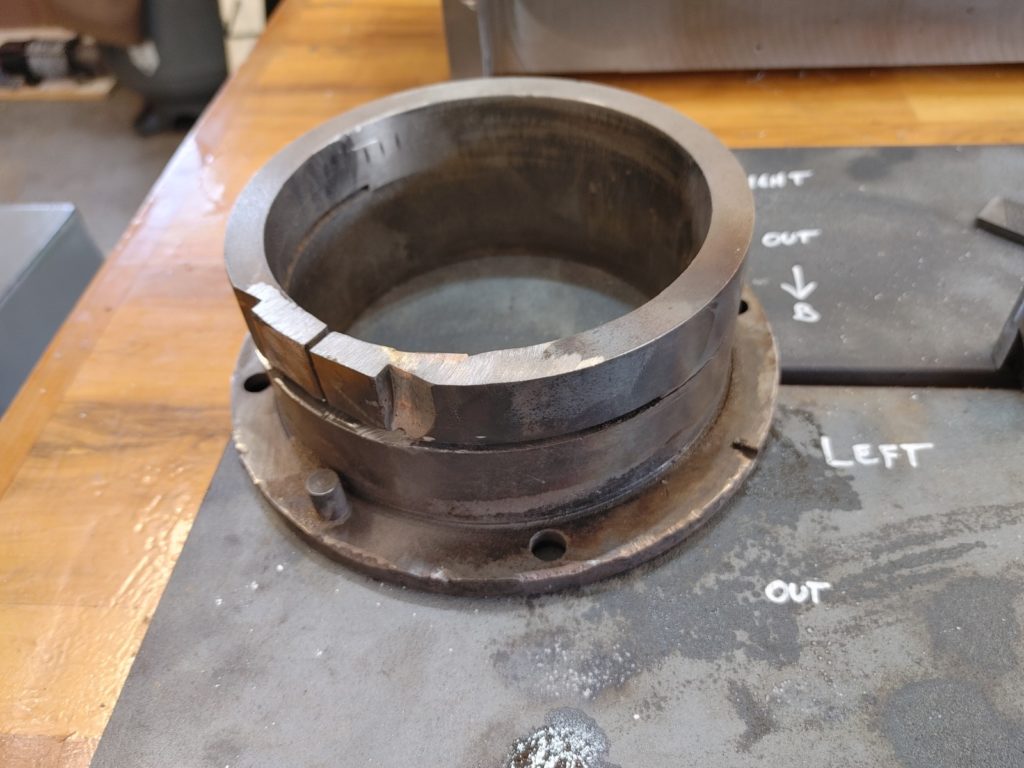
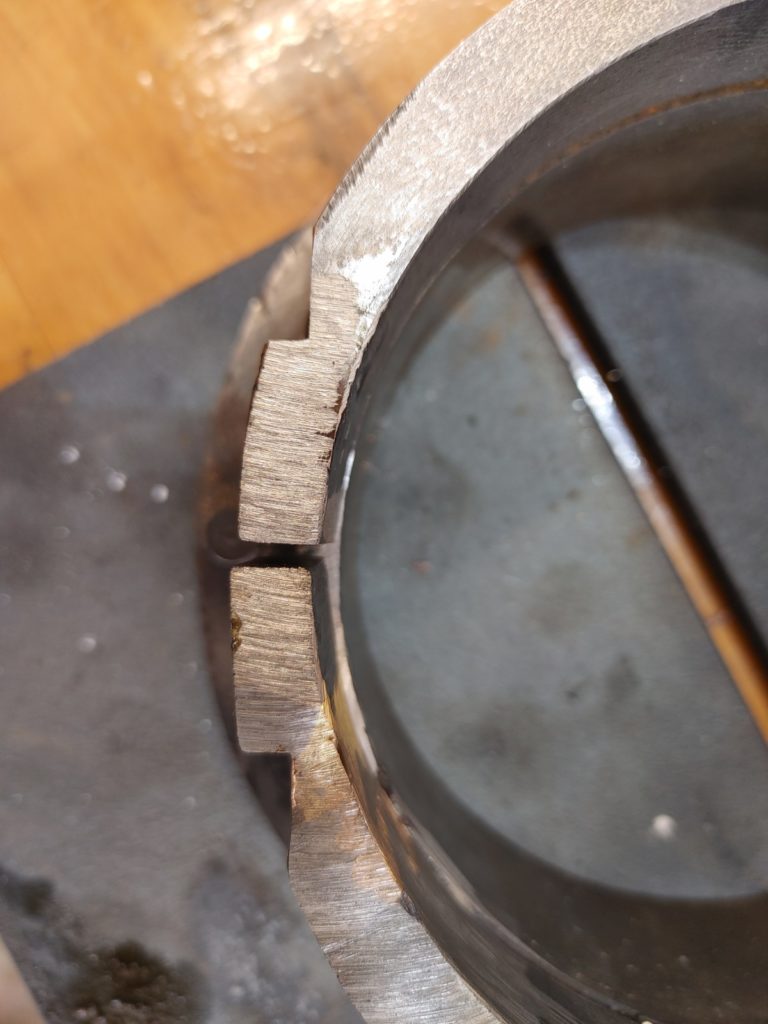
The repaired face seems to fit the clamp collars OK.
I have zero illusions that this will hold indefinitely. But it doesn’t need to. I just need it to last long enough to drill about 12 holes and perform 4 milling operations to finish the CNC mill and to make the new clamp collar.
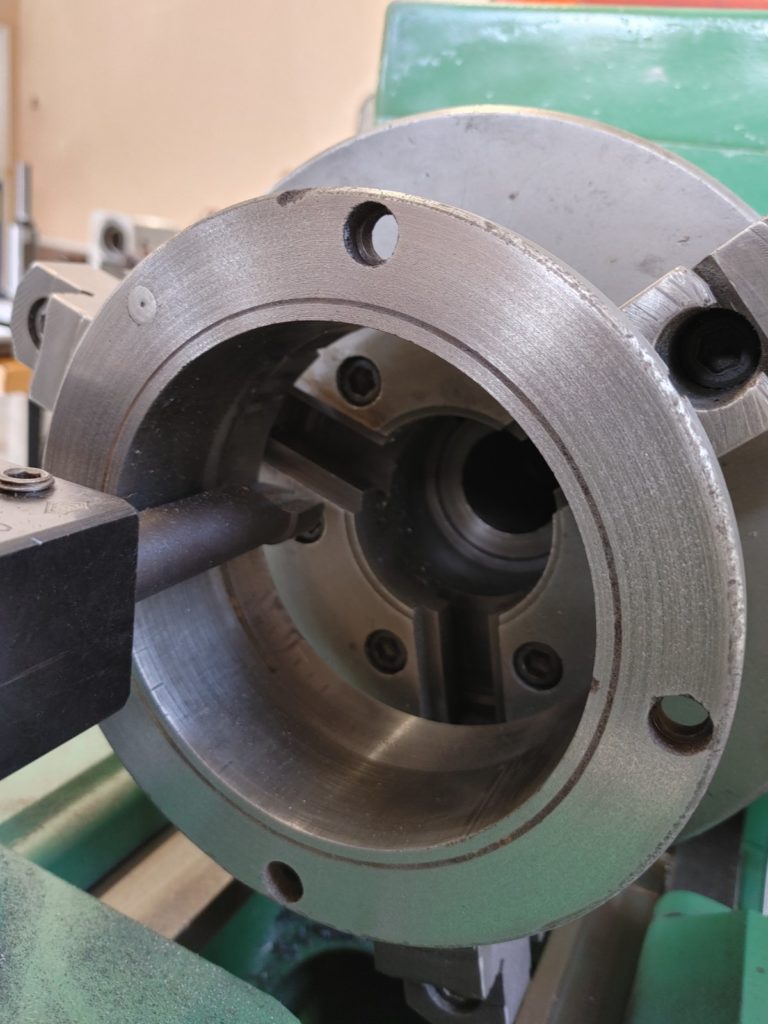
Not loving the force it took to get the collar out, and knowing its life is limited anyway, I threw it on the LeBlond Regal, centered it, and took a very light cut on the inside and outside of the sleeve before hitting it with sandpaper. It fit snugly on both the quill and the inside of the head.
Installation was, as they say, the reverse of disassembly. I, of course, forgot to install the “short” clamp sleeve and had to knock the damn collar back out to reinsert it.
Once back together, I was able to move the quill up and down with the hand wheel. Yay. I returned it to the retracted position it had been in (for Lord knows how many years) and GENTLY clamped the collar back down. No suspicious cracking sounds and the quill was then hard to move with the hand wheel once clamped, so I’ll declare *temporary* victory and move on to the CNC machine before cutting a new collar at a later date.
Next, we’ll get the mill running, make some chips, and assess what needs to be fixed.