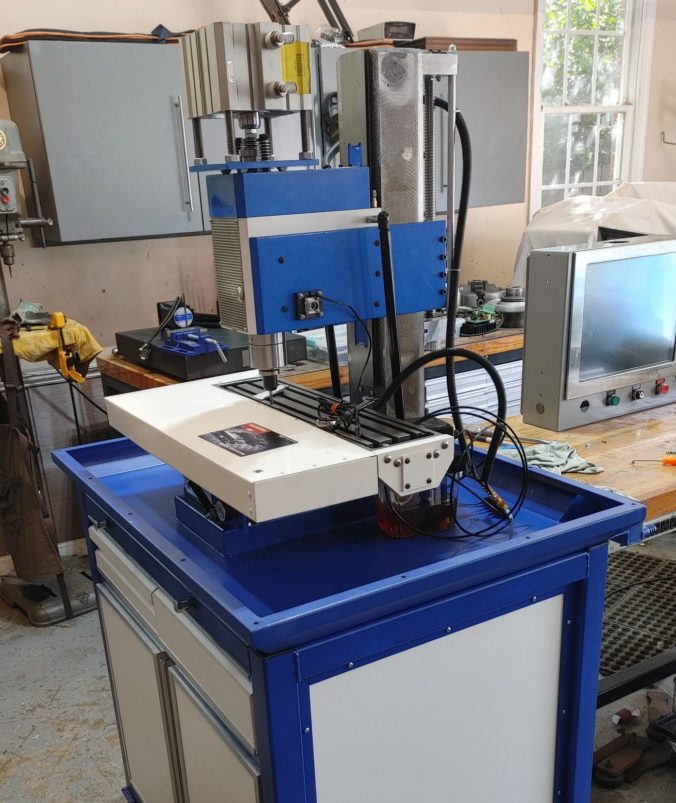
We are nearing the end of our Benchmill 6000 CNC project. The Sieg 2.7 replacement mill has been completed. We’ve reinforced the head, shoehorned in a 2hp servo motor, hand scraped the ways, and installed stepper motors and ball screws on all three axes. Now we’ll begin the process of enclosing the CNC mill using the old Benchmill enclosure.
With the reinforced head, epoxy resin fill, and reinforced column and back plate, I’d estimate we’ve added about 80 pounds to the mill (a good thing). Starting from a 245 pound base weight, that puts us around 325 pounds for the machine alone (excluding the mounting plate in the base and the enclosure). Whereas I was able to manhandle the little iKX1 in the original Benchmill, this took an engine hoist to get it in place.
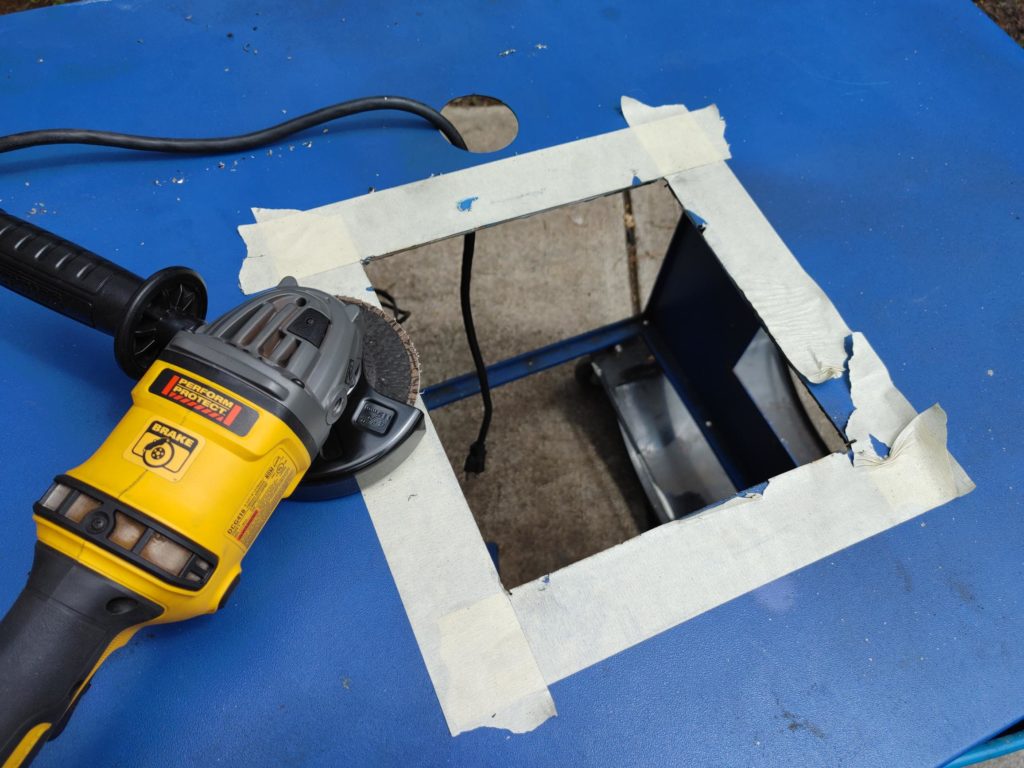
The next challenge was creating clearance at the top of the old Benchmill enclosure to allow the new pneumatic drawbar to poke through the top. I’ve added a good 5 inches of Z travel, and the single-stage air cylinder is relatively bulky. Out comes the angle grinder…
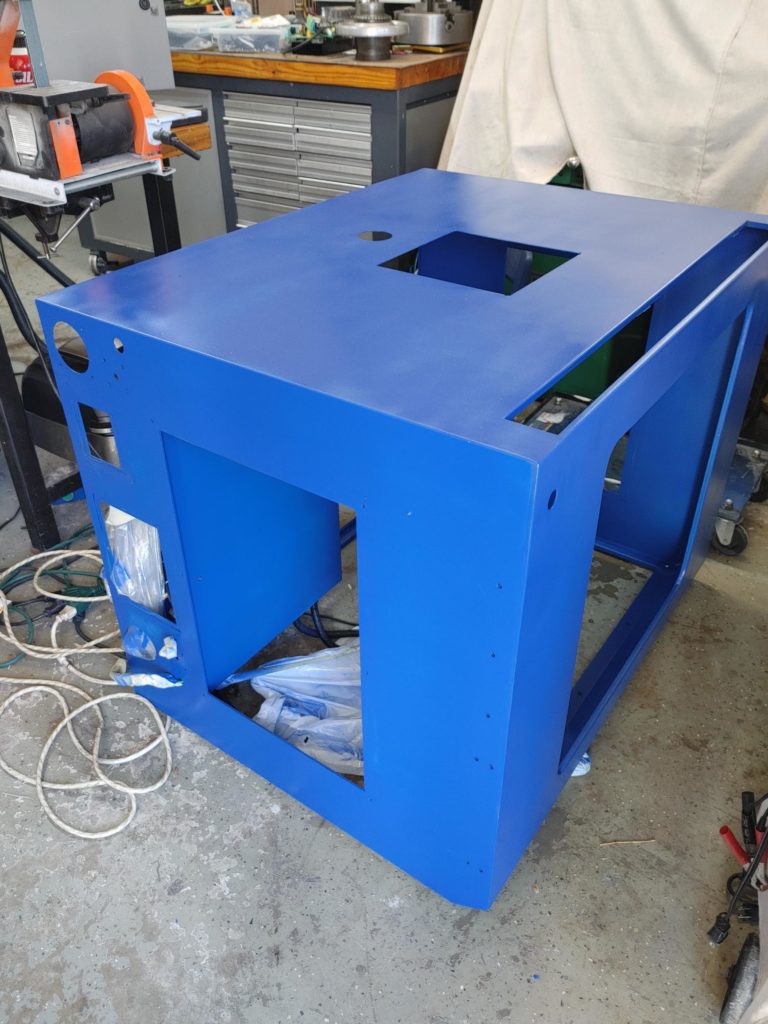
Next I spent a good day cleaning up the enclosure. It had gotten a bit rusty in a number of places. It was clear that the University of Akron used it with coolant. I then gave it a coat of Sapphire Blue Rustoleum paint (I’ve moved away from the Sail Blue, which is a bit too light and didn’t match the original Benchmill enclosure as well).
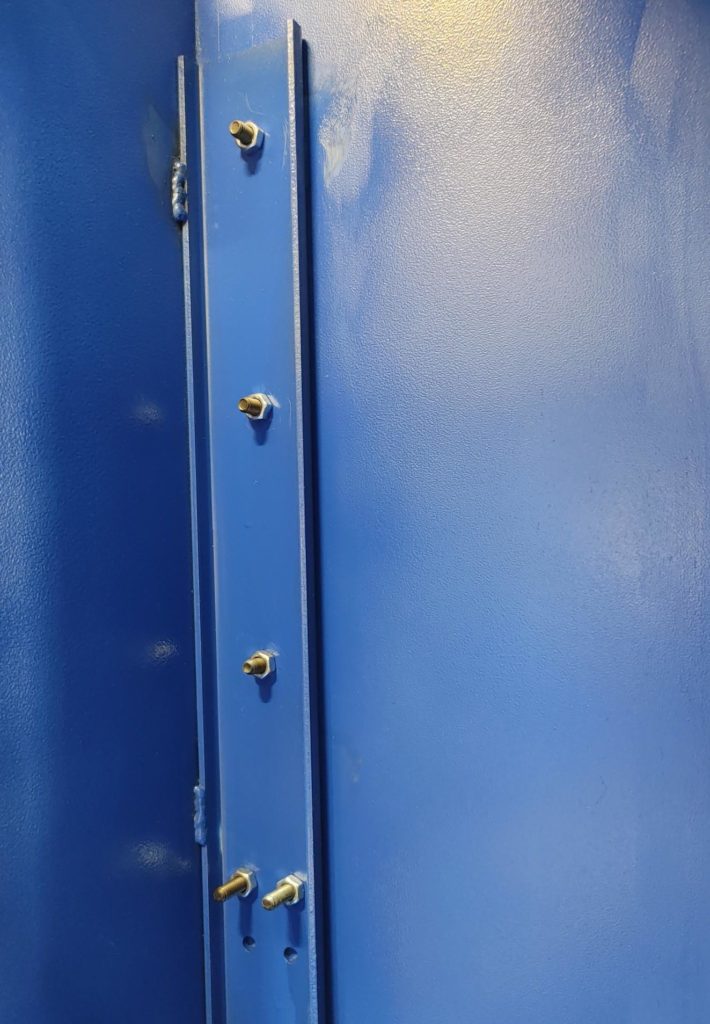
Next, I welded and bolted a section of 3/16″ c-channel to the left inside corner of the enclosure to provide support for the control interface (monitor) that we’ll be adding next.
It took three men to lift the enclosure so that it would clear the top of the Sieg. It isn’t too heavy (I’d estimate about 100-120 pounds), but it is bulky. The extra hands kept everything from hanging.
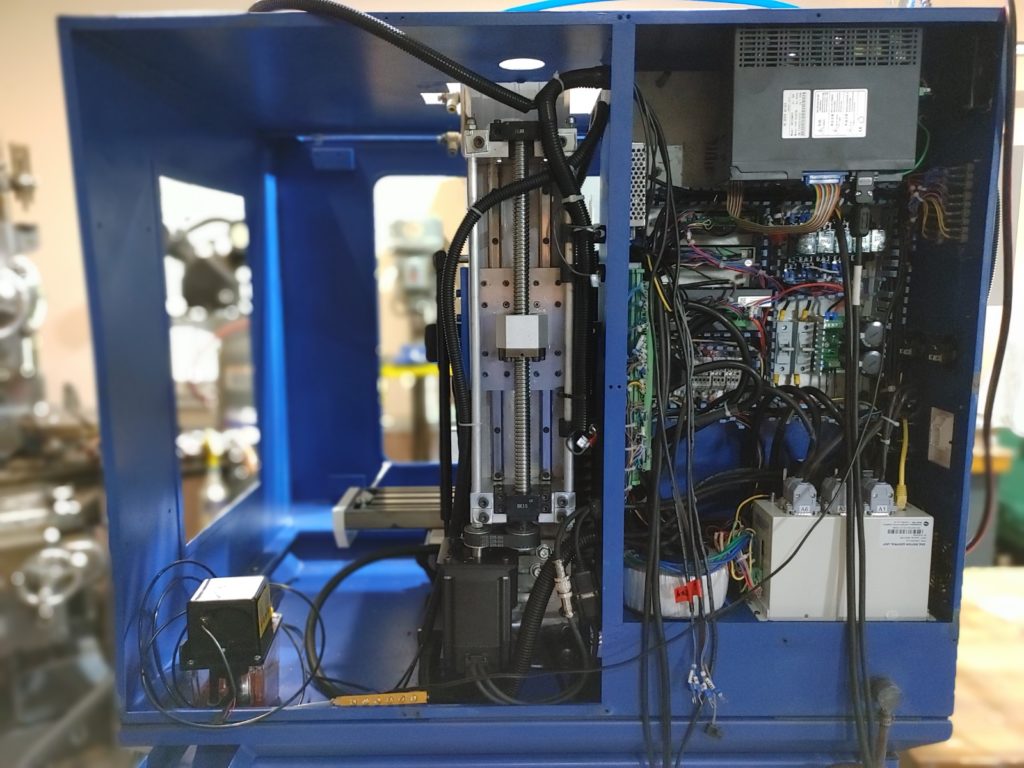
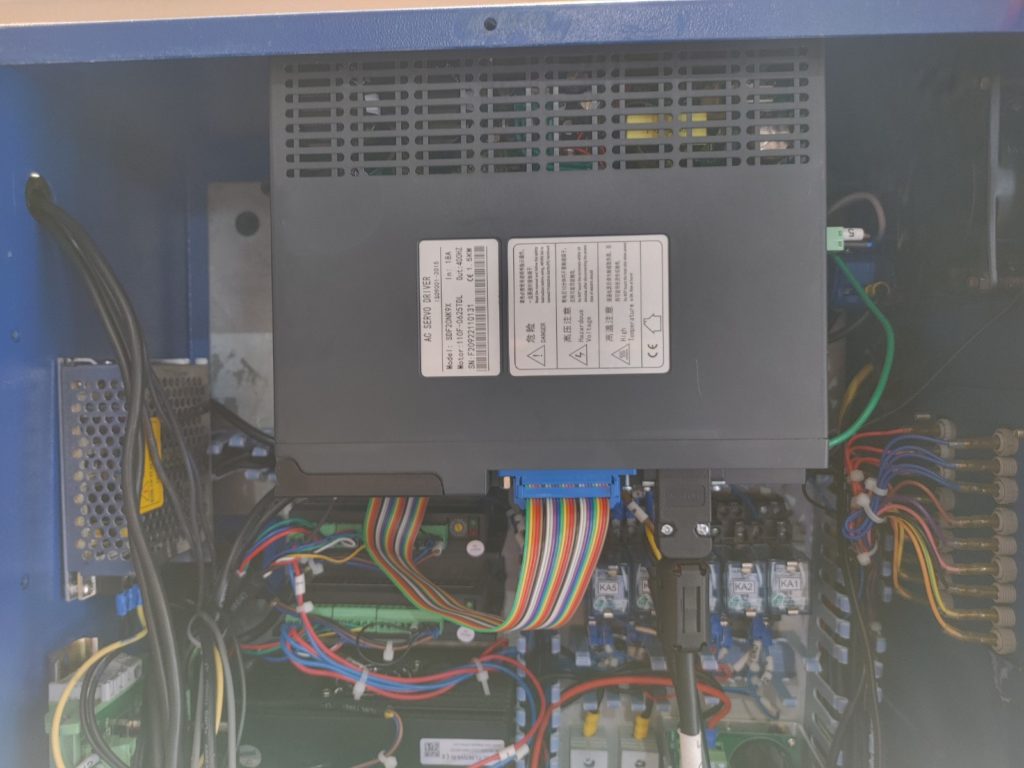
With the enclosure sitting on top of the base, I bolted it down securely and began installing the stepper motor drivers and the servo driver for the spindle motor. The latter is way more bulky than the original driver, so I ended up having to mount it from the top of the enclosure.
With the rough mounting done, next up we’ll hook up the monitor (control interface) enclosure and upgrade the power delivery.