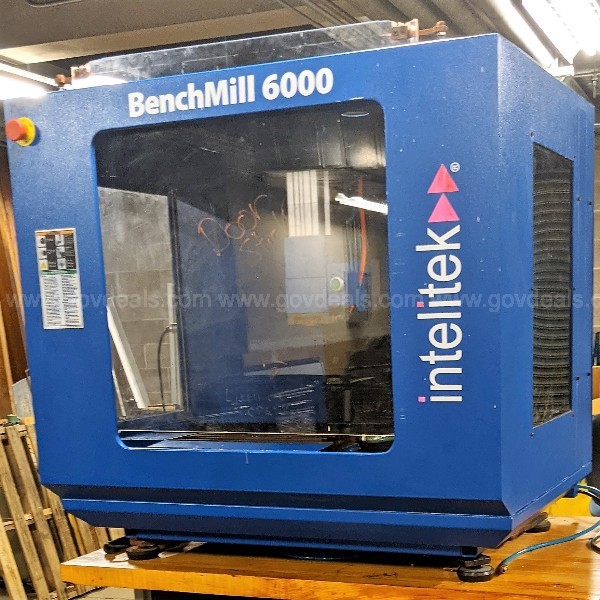
After paying for the mill I loaded up a Uhaul 5×9 trailer and headed up to Akron. It was about a 10 hour haul from Georgia, cutting through South Carolina, North Carolina, Virginia, and West Virginia. Took my son with me and made a road trip out of it. Lovely country — believe it or not, it was an enjoyable drive.
The folks at the University of Akron couldn’t have been nicer. After checking the paperwork they helped load the mill using a forklift. Note to anybody considering getting one of these: with the enclosure the machine weighs in at around 400 pounds, so if you are thinking “micro mill” and are assuming you can just man handle it into the back of your SUV, think again. The weight isn’t toooooo bad, but the enclosure makes it bulky and difficult to move.
Once I got it home, I rigged a strap to an engine hoist and basically pushed it off the back of the Uhaul to the point I could get the strap rigged around it. Once safely on the floor of my garage, I removed the access panels and began an inspection.
First thing I noticed was that the clear shield was jammed. The air cylinders that lift it were rusty but in OK condition, but the half-inch acrylic was caught in the channel. After removing it (I suspect replacement or overhaul of the the seals on the air cylinders is down the line) I inspected the inside.
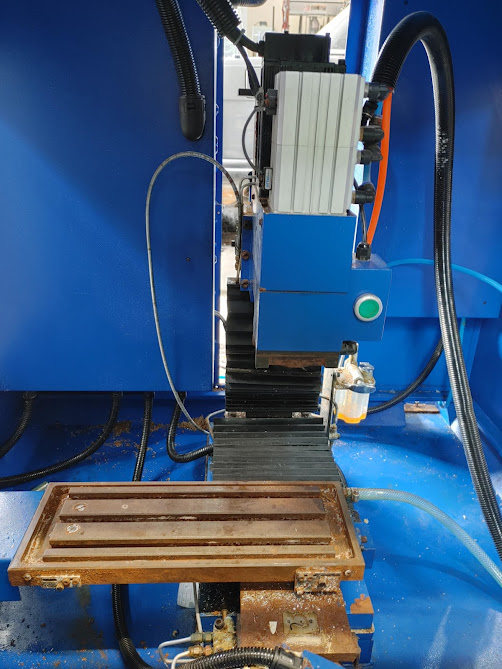
My first impression of the actual mill is that it is TINY. Maybe I’ve been spoiled from working on a full sized knee mill, but this seems like a toy. I suppose that, for a machine that is intended for educational training purposes, that is OK, but not for my purposes.
The good news is that it is fixed to a nice sized plate set in what appears to be epoxy granite, so I’ll have a good base to work from. It was also clear that someone had alternated running the mill with coolant and working on wood, without cleaning it adequately. Lots of rusty sawdust. I’m not too fussed about this part, as the plan is to replace the mill iron with beefier parts.
The other good news is that the 1000W motor and the pneumatic draw bar components appear to be adequately beefy and in good shape.
With the rear access panel off looking at the back of the machine, it is clear that this is based off of the X1 “micro mill” design. Note the open backed column. This will definitely go. (Looking through you can just see my Leblond Regal 15″ engine lathe, which was my last restoration project).
On to the electronics. Here I was impressed and am beginning to feel better about the decision to start with the BenchMill. After getting the back panel off, I was pleasantly surprised to see everything laid out in a logical fashion with labeled wiring. The fourth axis stepper driver is even installed. No rats nests or signs of shorts.
I suspect we’ll need to upgrade the power supply for the steppers as the motors on the machine are rated for only 1.8 amps each and I’ll be moving to something more beefier, but everything else looks reusable. In particular, we are going to make a go at reusing the 1000W AC spindle servo, so its driver will stay, as well as the motion controller, breakout board, and wiring. [Edit: we decided to go with a sweet 1.5kW Servo]. Not shown are the solenoids for the air-powered draw bar and the front shield. Those seem to be in good order as well and look like they can be reused.
Next step, disassembling and cleaning the mill.


